
With mid-football season occurring during prime pumpkin season, this idea is a great addition to any tailgate or football themed party! Also, with the carve-able potential of pumpkins, you can get as detailed (or not) as you’d like without compromising the actual pumpkin.
Note: I pulled double duty with these pumpkins as (1) painted as decorations for Fall/Halloween (which is why there is paint on the pre-cut pumpkin), and (2) cut as a fruit bowl for my son’s birthday party.
What I Used:
- Pumpkin (you’re looking for one that leans back a bit and is a fairly large, oval shape)
- Butcher knife, pairing knife, and metal spoon
- Acrylic paint and brush
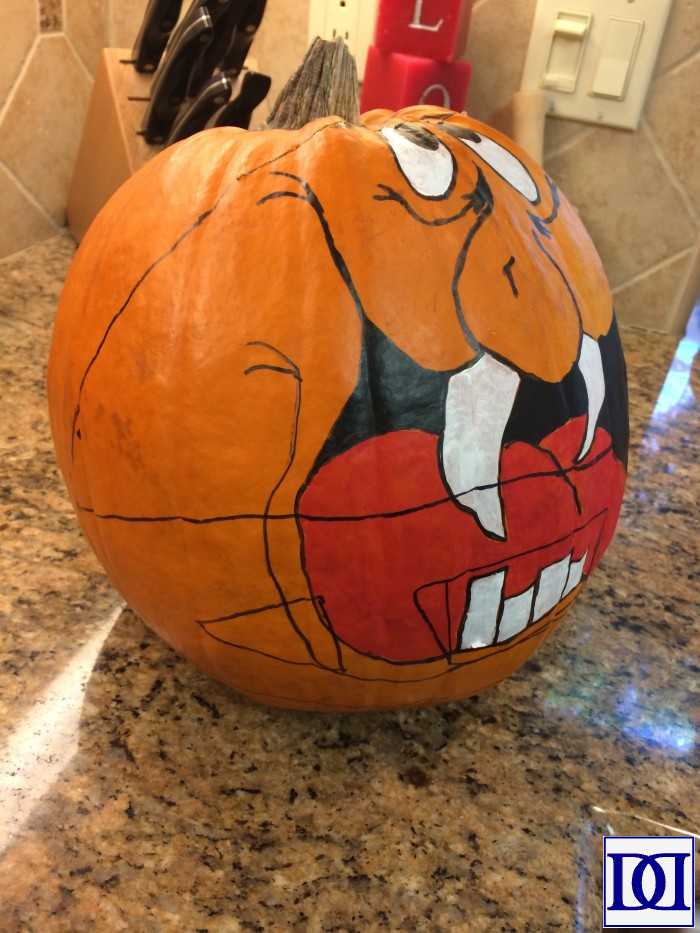
(1) Outline your design in sharpie on the pumpkin. While this certainly isn’t necessary, it allows you to make tweaks and changes without having to cut into your pumpkin.
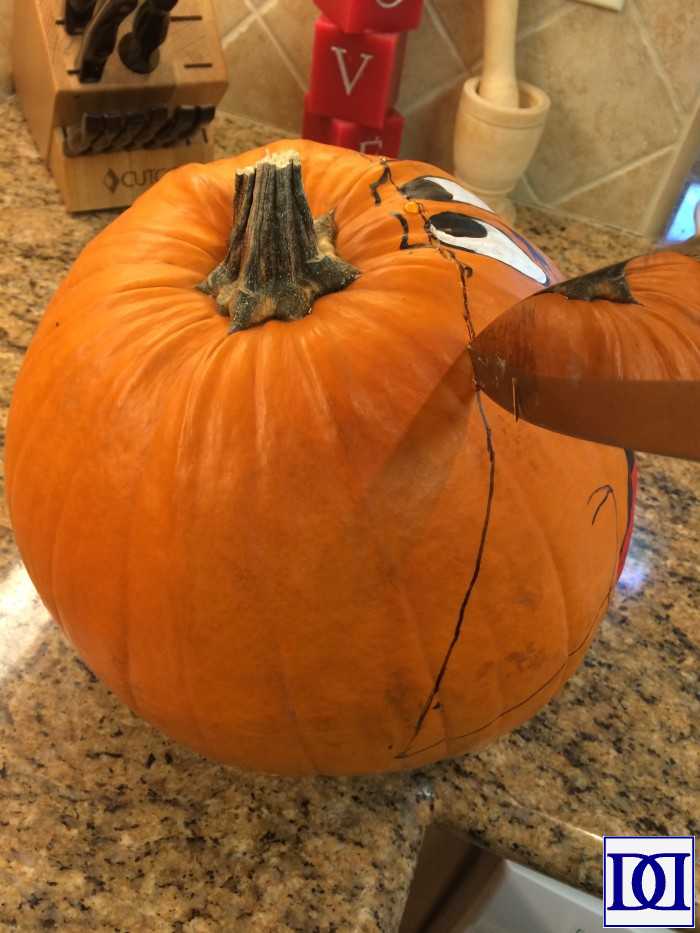
(2) CUT!!! Seriously, the first butcher knife cut is the most terrifying and thrilling step of the process (yes, that sounds a little creepy, but it’s true!). I recommend starting with the largest anticipated opening and scoring the entire outline with the pairing knife at a depth of about 1 inch. Once you have this initial cut done, you can more easily cut through the entire skin of the pumpkin with the butcher knife while staying true to your drawn design as the scoring provides a “groove” for the butcher knife to follow.
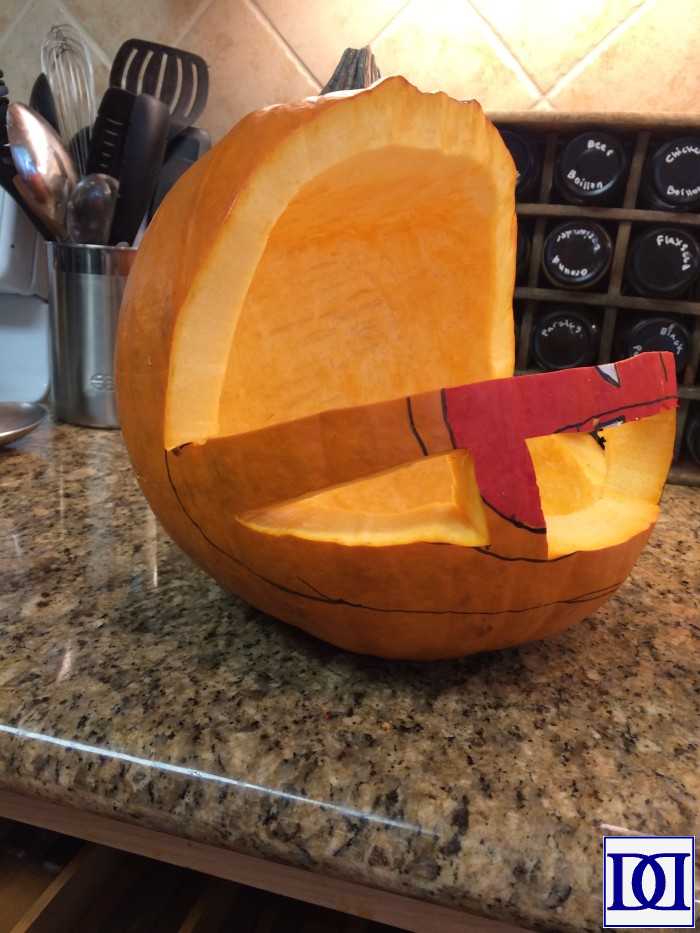
(3) After you get the large opening cut out with the butcher knife and cleaned up with the pairing knife, you are left with this:
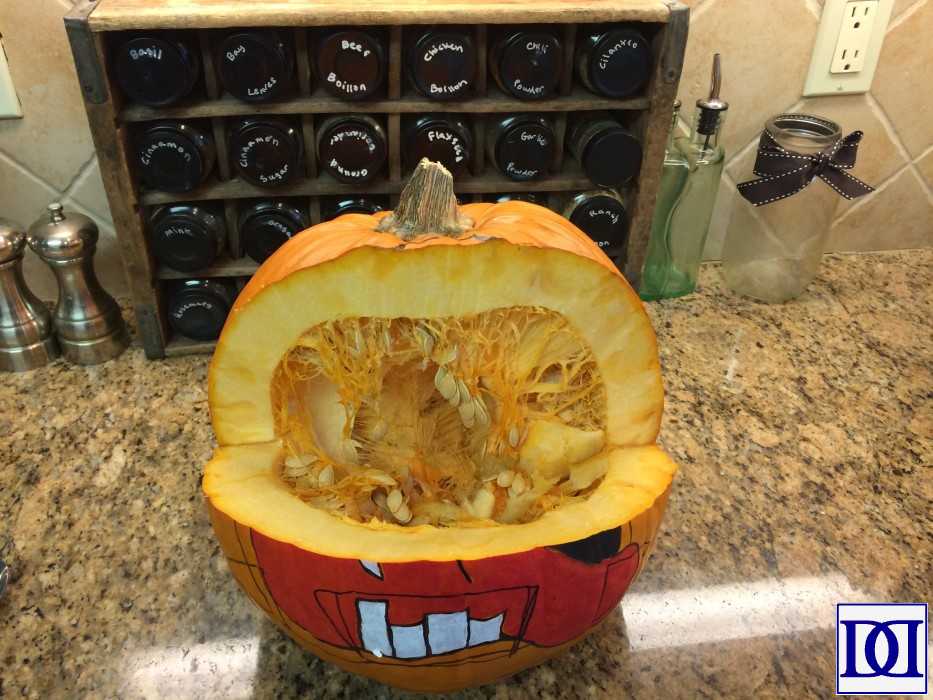
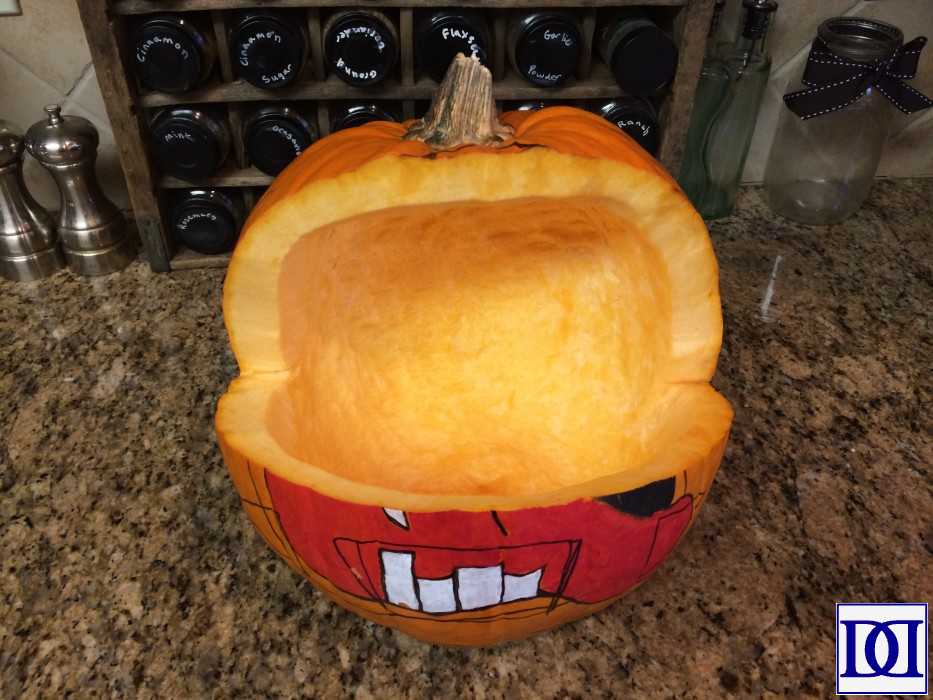
(4) At this point, you’ll want to scoop out the pumpkin “guts” (you can preserve the seeds for toasting and preserve the pulp for pumpkin puree to use in a variety of dishes). I also suggest scraping the inside of the pumpkin with a reliable metal spoon to ensure that all of the stringy, sticky pumpkin parts are gone (wouldn’t taste so great with the fruit).
(5) Cut out the “grill” of your helmet with the pairing knife (I would still recommend scoring before using the butcher knife as mentioned above).
(6) This part is completely optional. For me, because I was working with an already half-painted pumpkin and because I wanted to exaggerate the helmet grill, I chose to paint the grill black. Since I had already used a sharpie to draw the design I wanted, I merely painted inside the lines. Remember, acrylic paint is water soluble before it dries, so feel free to clean up any mistakes with a wet paper towel or paintbrush/q-tip dipped in water. Let dry (mine was dry to the touch in 1 hour).

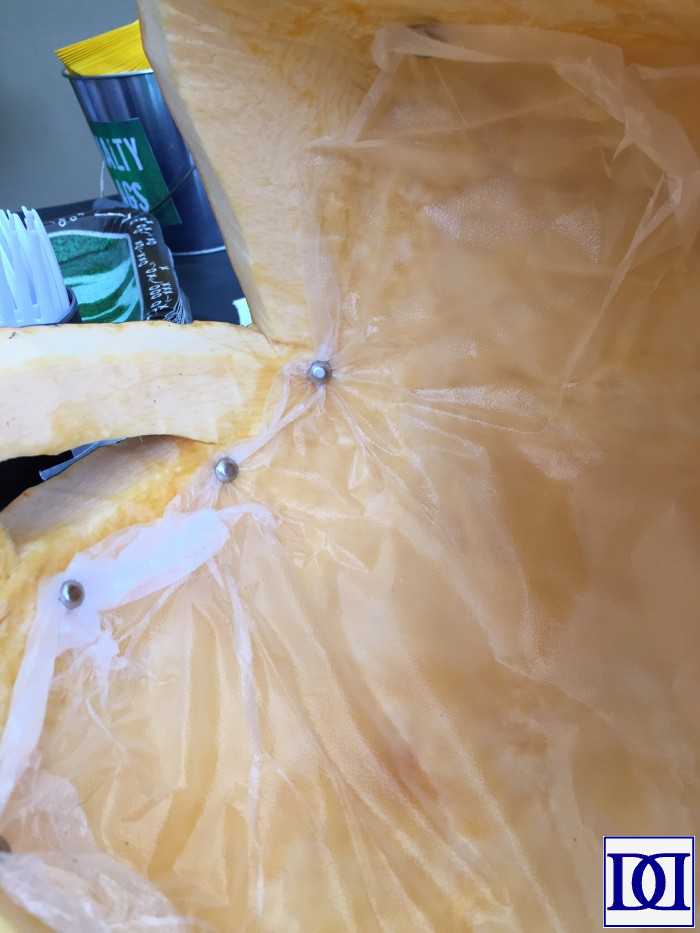
(7) After the paint dries, line the inside of the pumpkin with cling wrap. While this isn’t necessary, I felt better about not having people accidentally scoop pumpkin when ladling their fruit. Here, I secured the cling wrap in the back of the pumpkin with small brads.
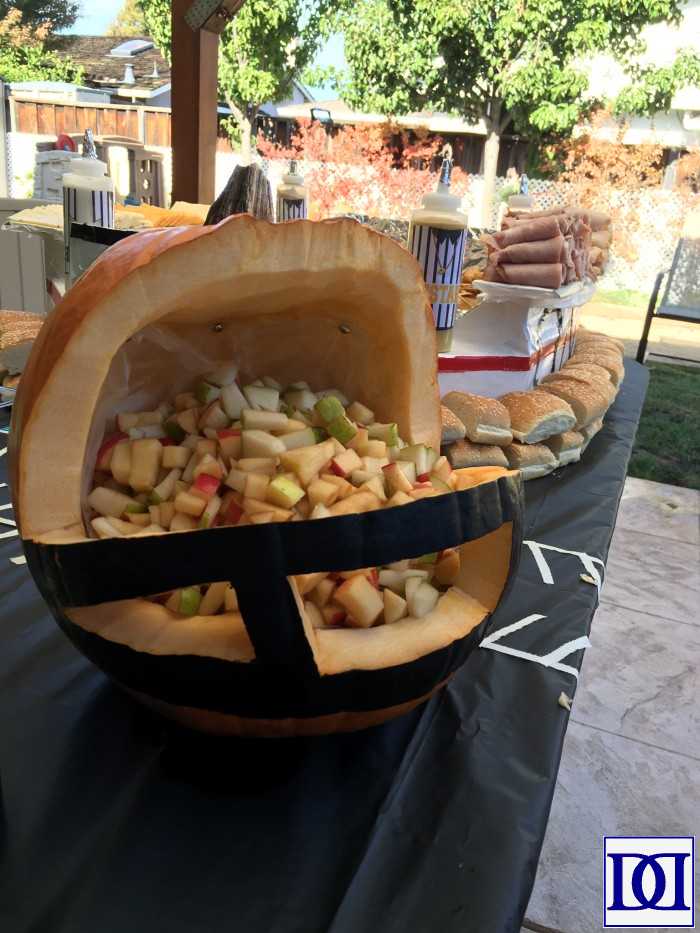
(8) Store (mine kept (unfilled) in the fridge for 1 week without any issues) or fill immediately with your choice of fruit! We went with apples and pears to avoid some known guest allergies and to take advantage of the in-season produce.
For other tailgating or football party ideas, check out Football Shenanigans: A B1G Day!
Leave a Reply