When my daughter asked for an “Astronaut Princess” party for her fourth birthday, we were a little stumped. What does an astronaut princess do? What sort of party would she have? When the internet wasn’t helping me come up with a lot of princess-like astronauts (let alone “girly” ones), I went to the mastermind herself.
Me: What do astronaut princesses do?
Jenna: They drive rocket ships through outerspace.
Me: Anything else?
Jenna: Well, they have to decorate their rocket ships before they will fly. The astronaut princesses color them and make them pretty; that’s how they fly. And then they fly them through outerspace with all of the stars.
Challenge accepted.
CHALLENGE ONE: ROCKET SHIP
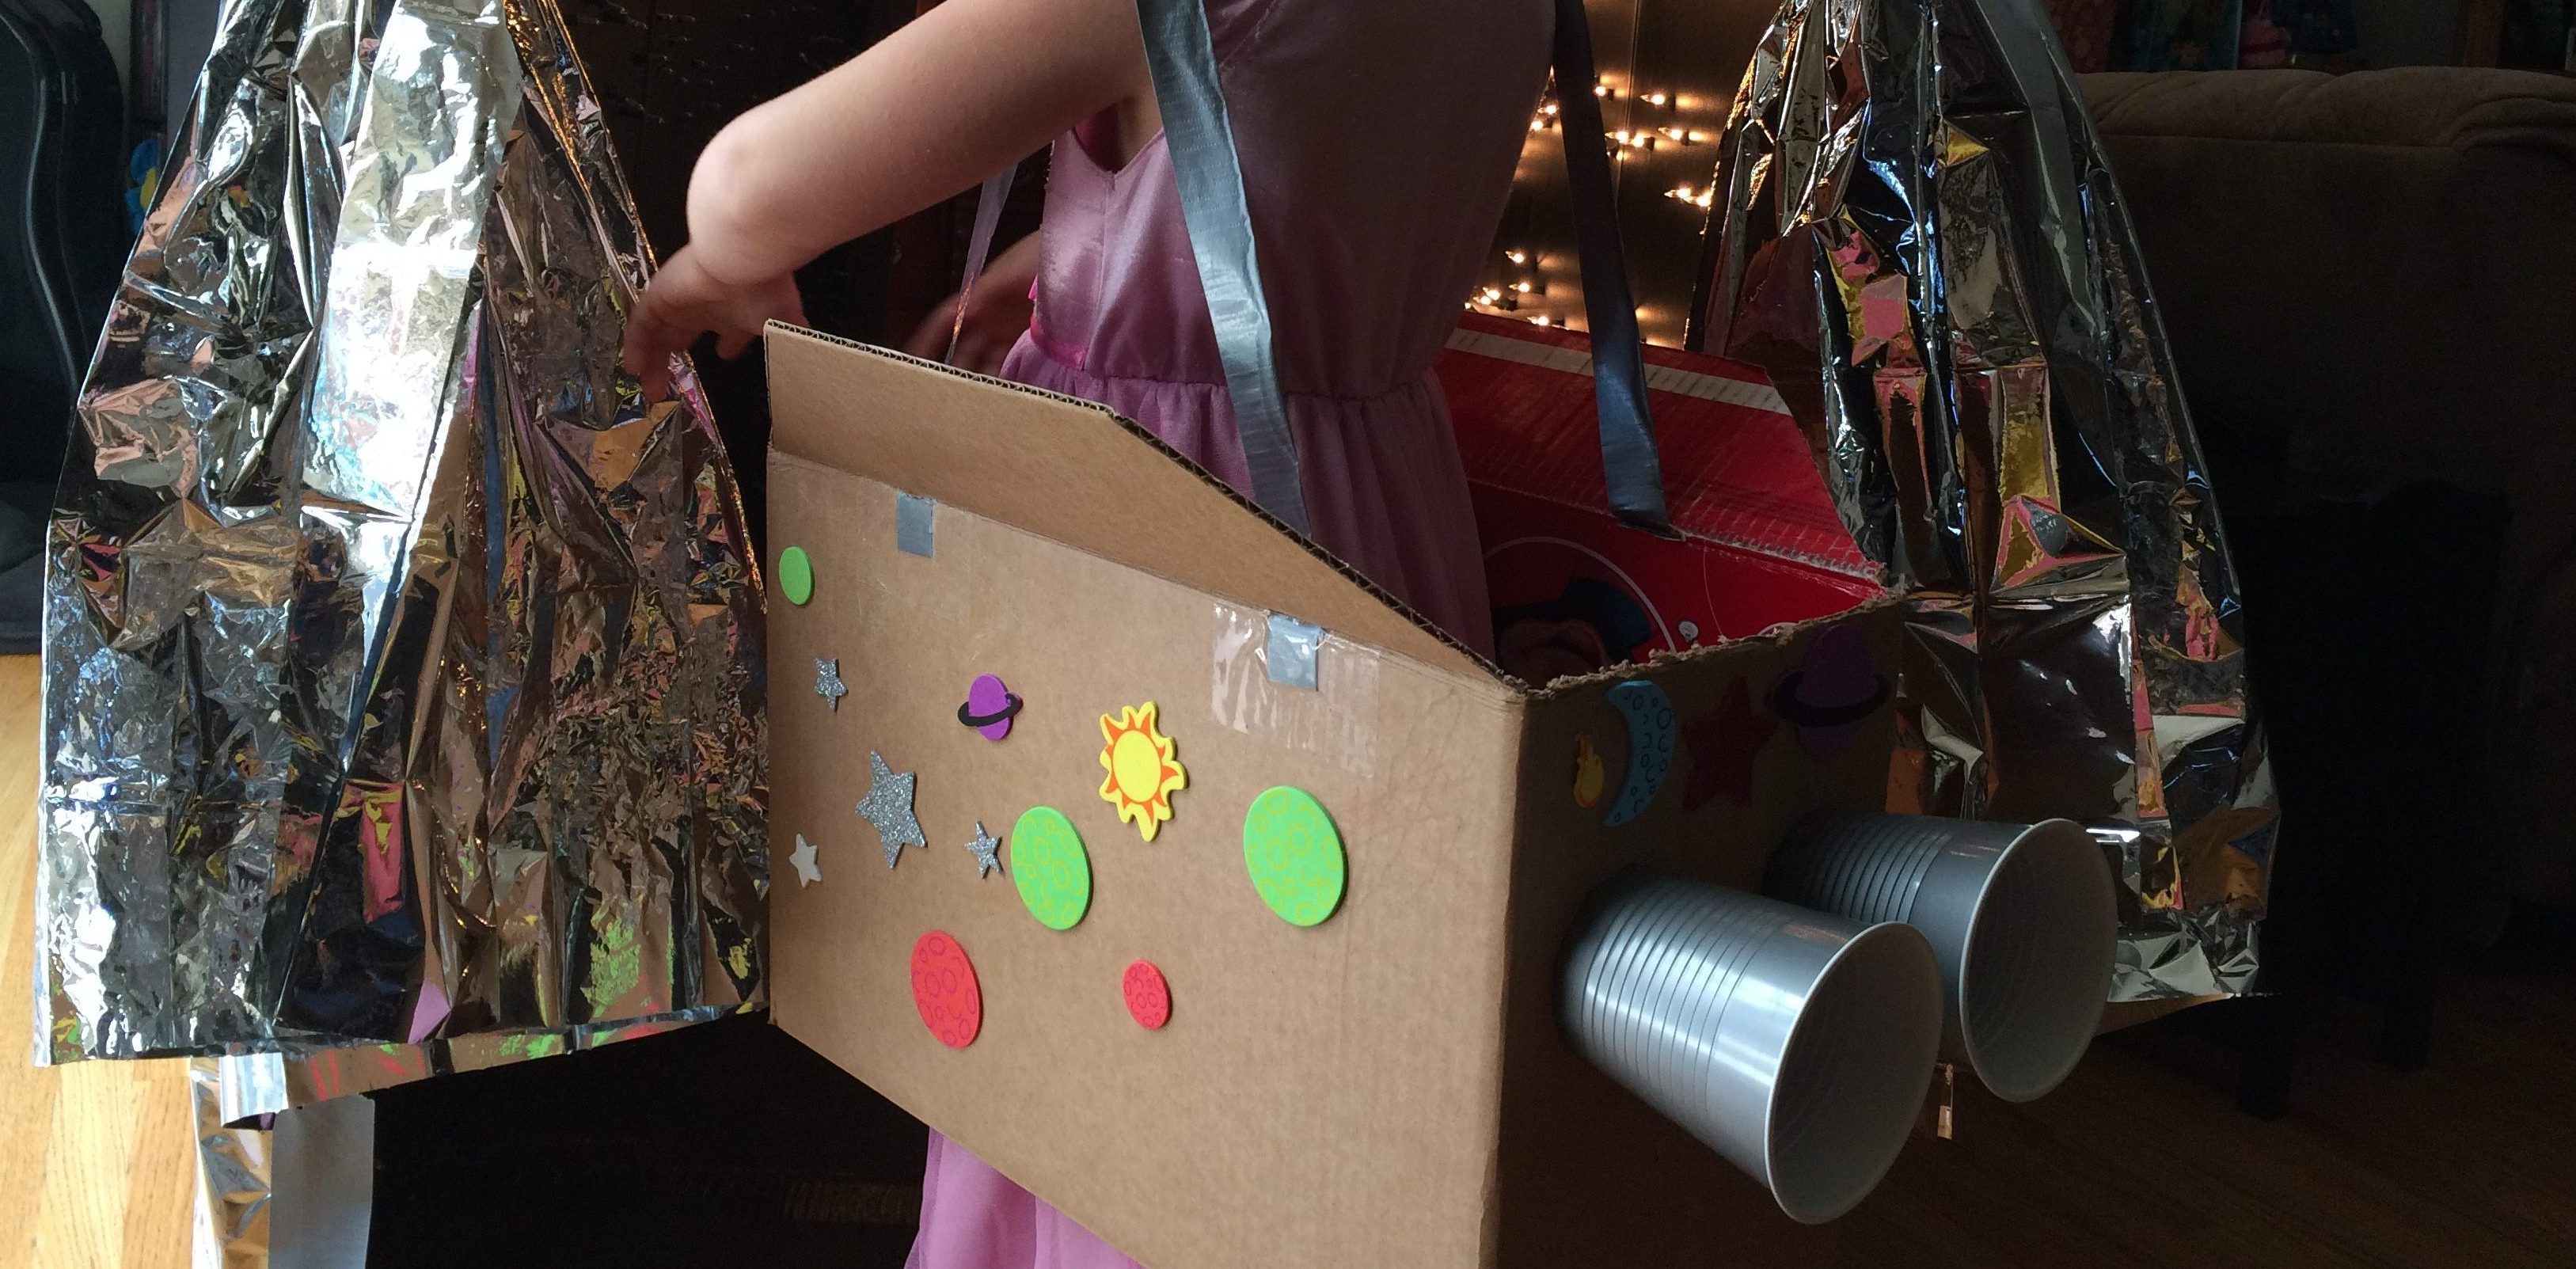
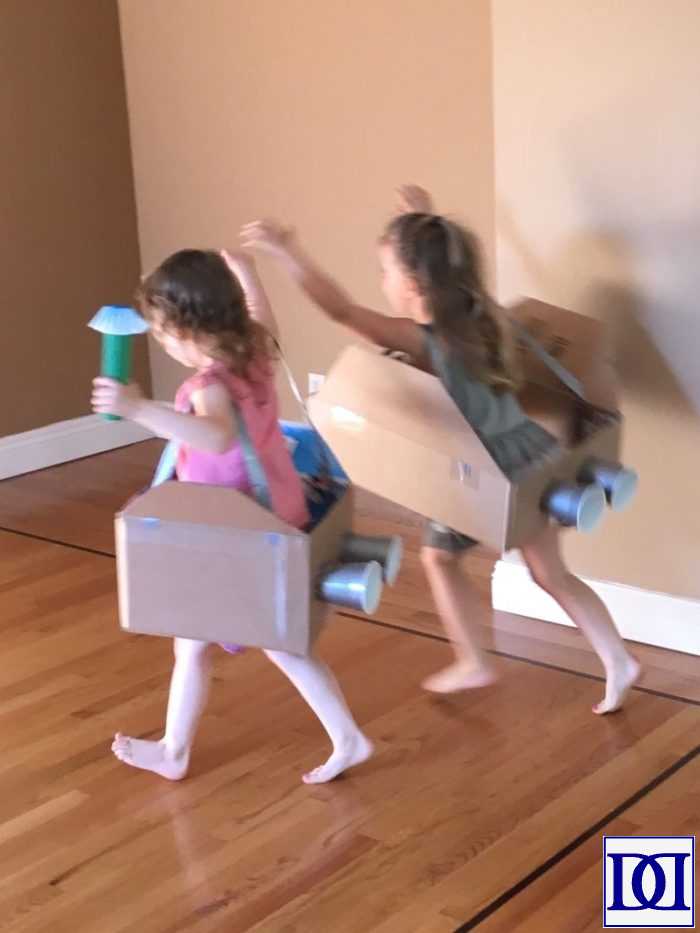
The only way I could fathom having 15-odd preschoolers (and their siblings) driving rocket ships was if the ships were made of cardboard. A little bit of R&D allowed us to determine that large diaper boxes were the PERFECT size for this particular project, and given that we have an amazing network of young families in our area, I was able to amass 15 of these boxes (and similar shapes) in no time.
To make them a little more rocket-like (and easy to decorate), here’s how we modified them:
What I Used (per rocket ship):
- Cardboard box
- Box cutter
- Packing tape
- Duct tape
- Box cutter
- 2 silver solo cups
- Optional: green and red paint
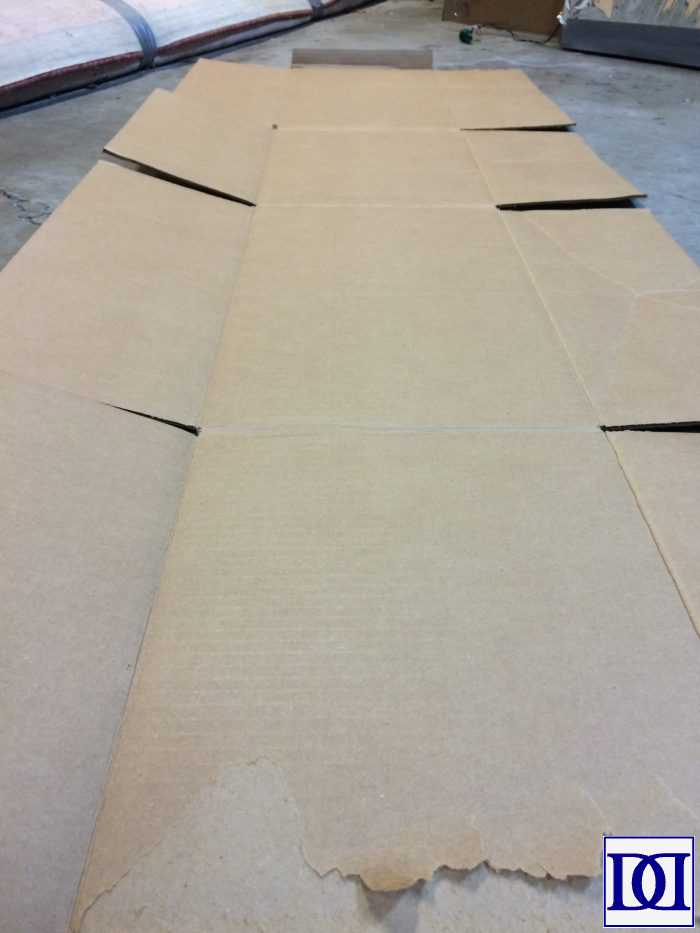
(1) Dismantle box (so that it lays flat).
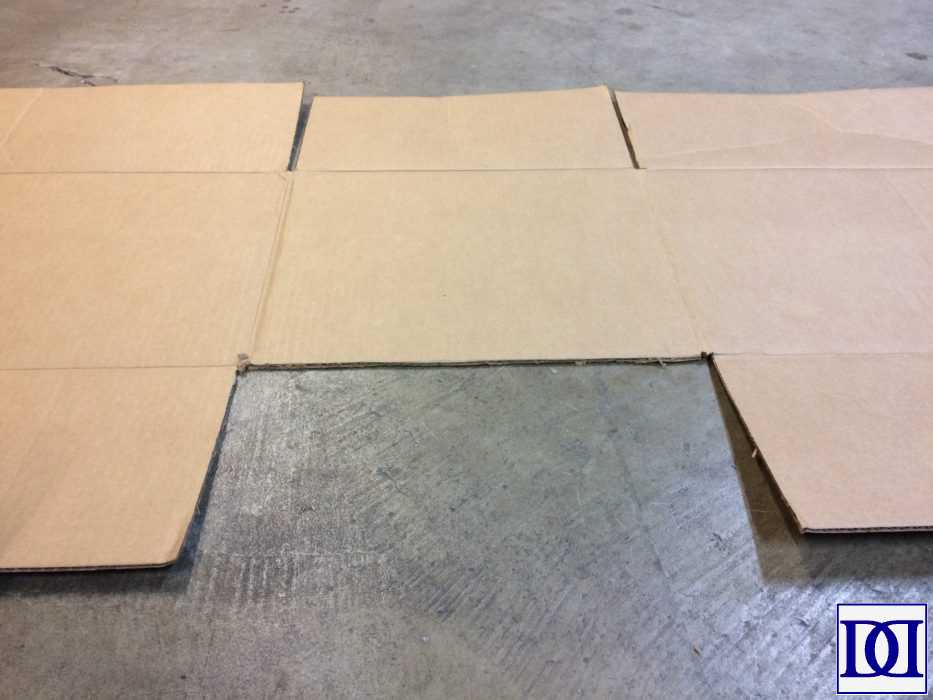
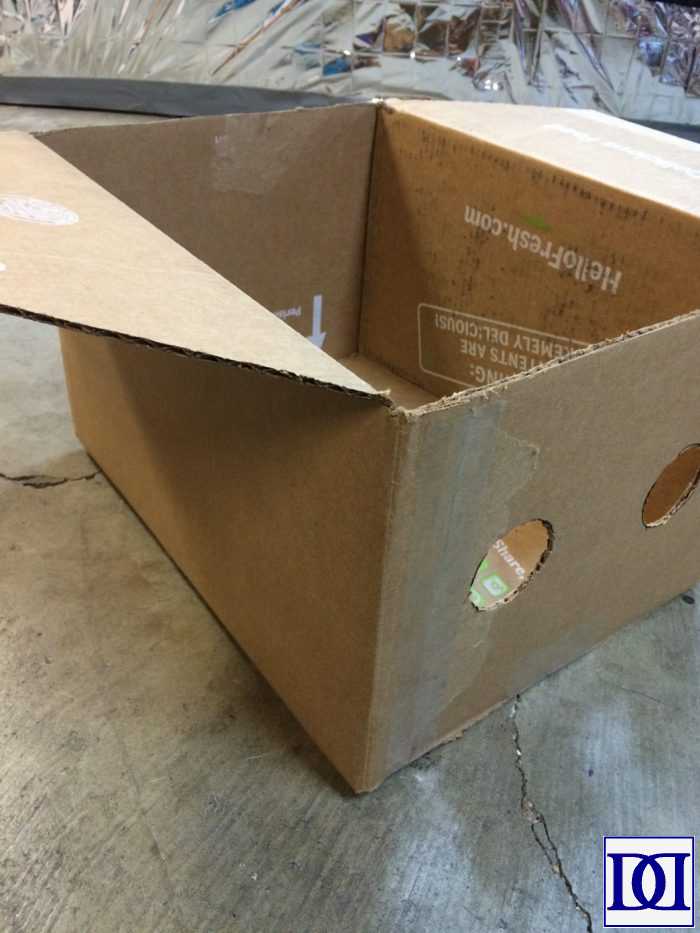
(2) Cut the two short flaps off.
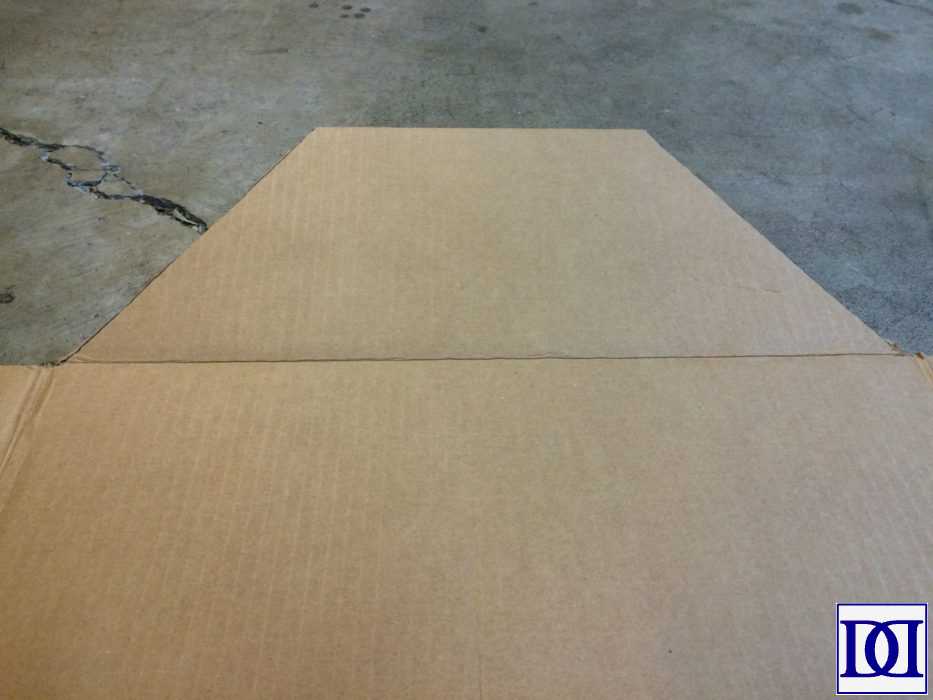
(3) On the same side as you cut the short flaps off, cut long flaps at an angle (wings).
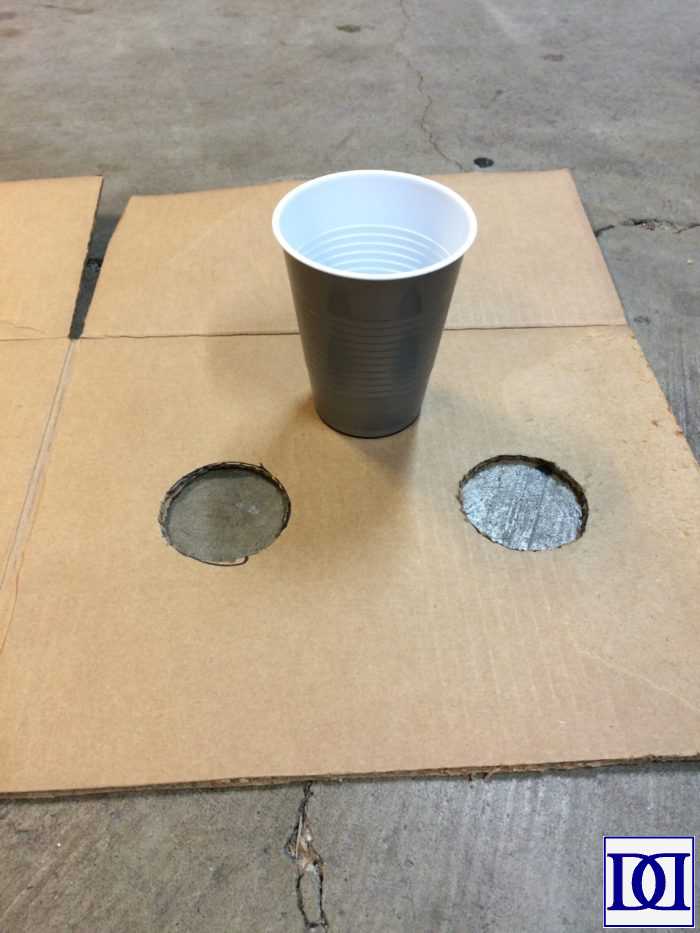
(4) Trace bottom of solo cups on one short end (this will be the back of the rocket ship). Cut out circles.
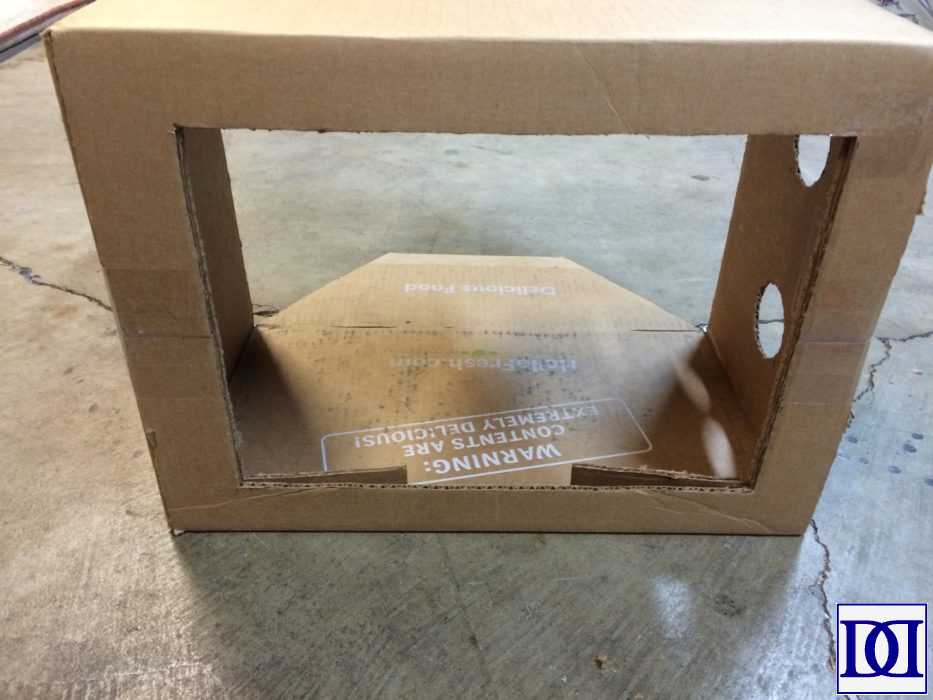
(5) Reassemble box so that the unfinished box is on the outside (to be decorated), securing with packing tape.
(6) Cut out bottom of box and tape around any rough edges.
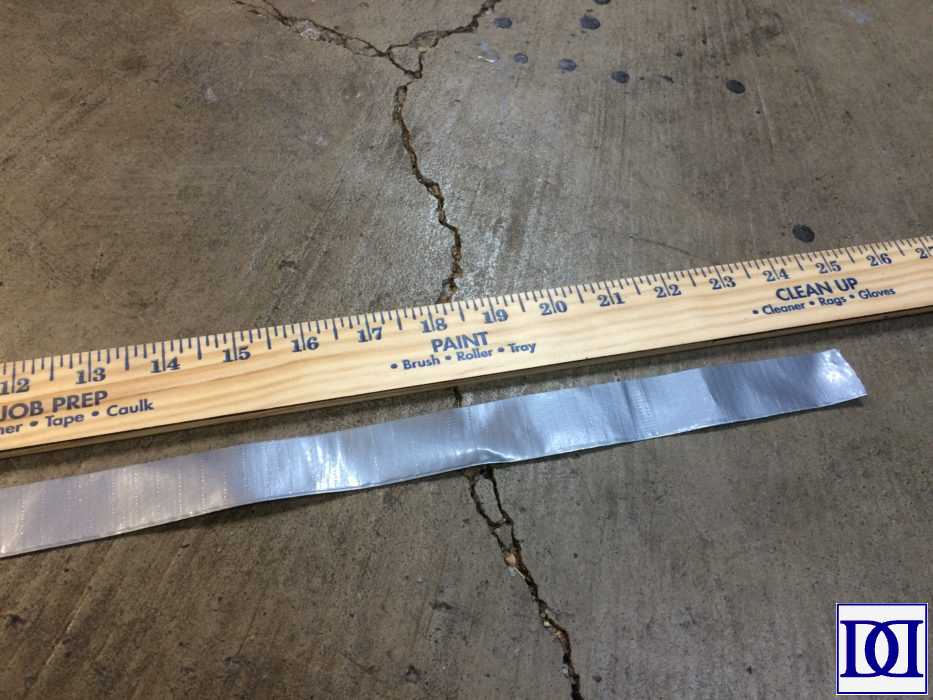
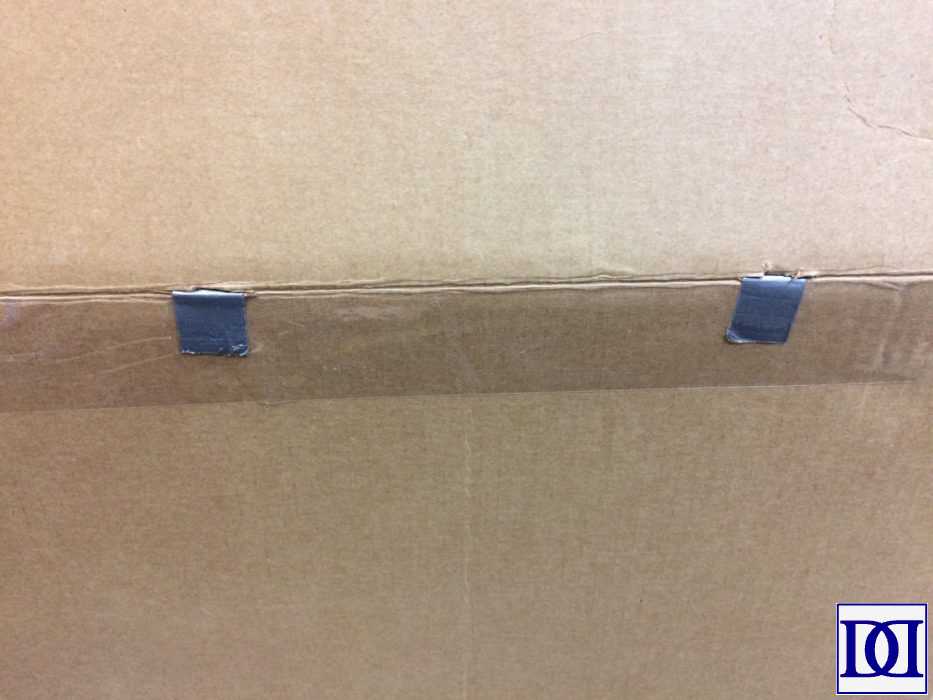
(7) Rip two 25″ lengths of duct tape, folding both in half.
(8) Cut slits 3″ from the end of the long ends of your box under the angled flaps. Slide duct tape ends into these slits and secure with packing tape (these will act as straps for the “astronauts”).
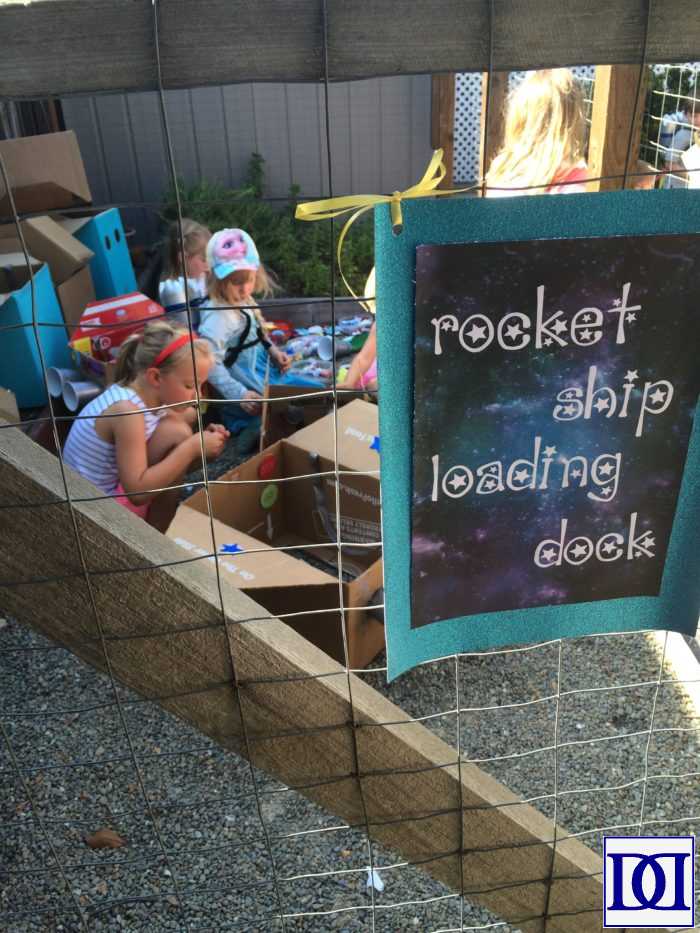
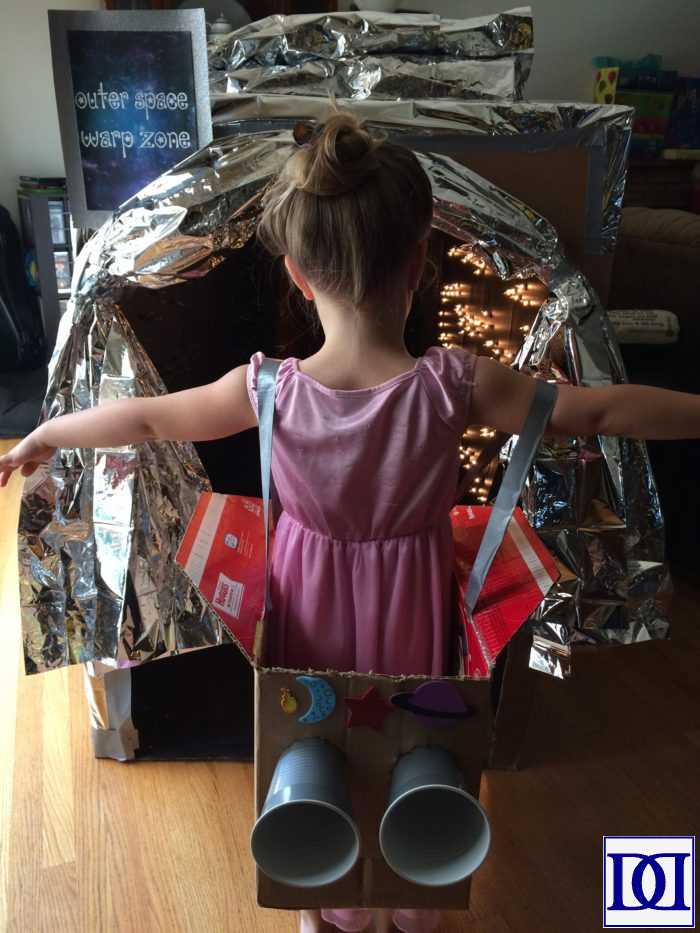
(9) Insert solo cups into holes as the rocket engines (or allow kids to do this during the “decorating phase”). Then, give them to kids to decorate with crayons, stickers, glue/construction paper, etc. We have a small garden area that was perfect to keep the craft contained while the kids were working (and to keep the smaller, mobile siblings from eating the decorative accents). Printable sign here.
(10) OPTIONAL: Retain circles from solo cup and paint red and green as “stop” and “go” buttons. Buttons aside, there was only one speed for these kids!
CHALLENGE TWO: OUTERSPACE (WITH STARS)
The next challenge was how to get these ships to fly through “outerspace with stars.” One of the joys of young kids is the range of their imagination and, therefore, we could have let the kids loose in the backyard and called it “outerspace,” and they would have enjoyed it just fine. That being said, after two timely discoveries, I was motivated to be a little more literal:
(1) A stash of Christmas lights we had bought in a January sale ($1 for 100 mini lights).
(2) A hotel in the midst of renovation with an amazing array of large furniture boxes and a consultant who was amenable to a crazy pregnant lady showing up and asking to cart away 10 of his boxes.
What I Used:
- 3 large furniture boxes
- Box cutter
- Packing tape
- Drill
- 700 Christmas lights
- Black paint
- 4 emergency blankets
- Silver duct tape
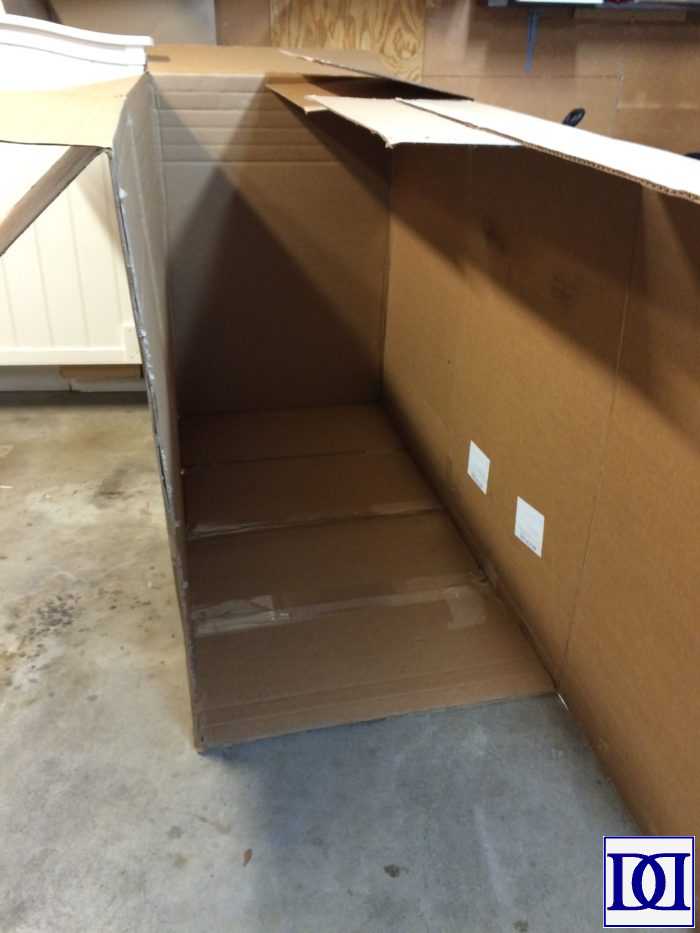
(1) Assemble boxes together with box cutter and packing tape, retaining as much of each box as possible for structural integrity.
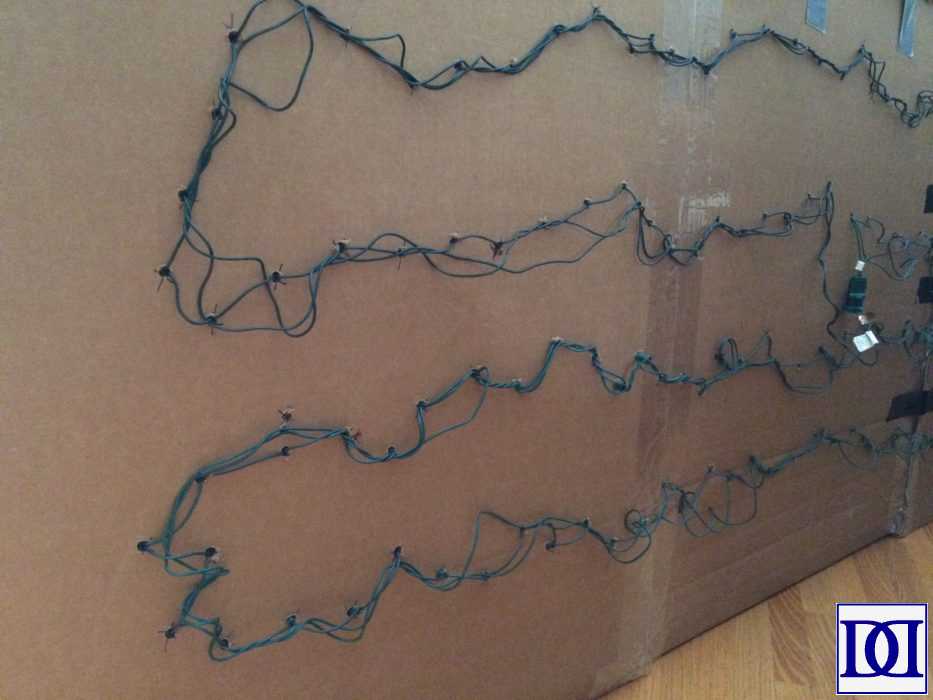
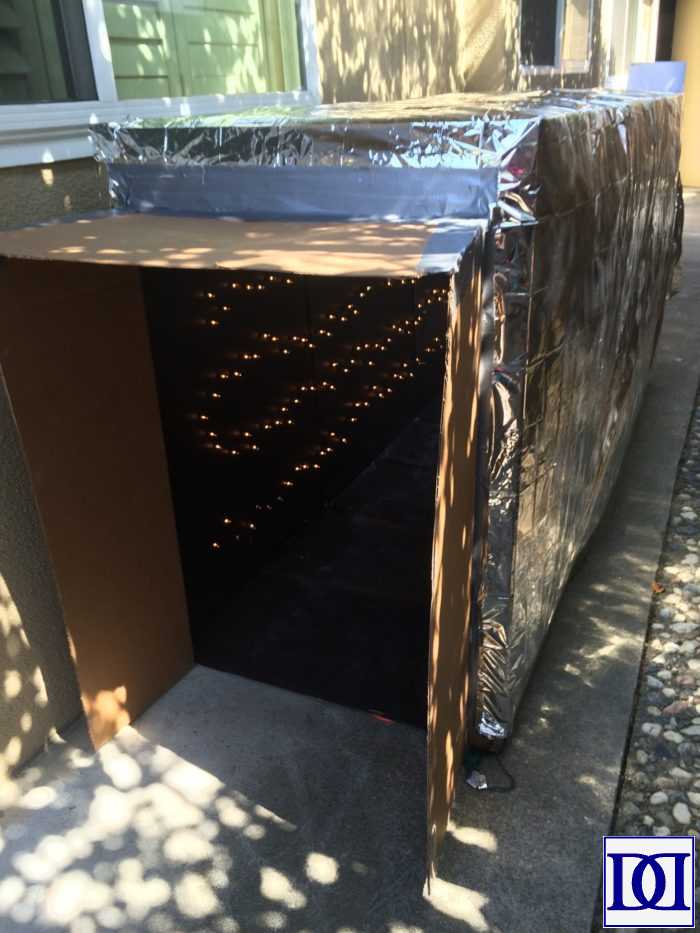
With my three boxes, I left them as tall as possible since I would be having kids run through them instead of crawling. As you can see in the picture, I cut the “front piece” on two sides and attached it to the next box. I did the same thing with the third box. The middle box was the least sturdy (with both front and back de-stabilized). In order to enhance the stability, I taped these cut pieces one of the other boxes. I also taped the tops together to provide a nice roof.
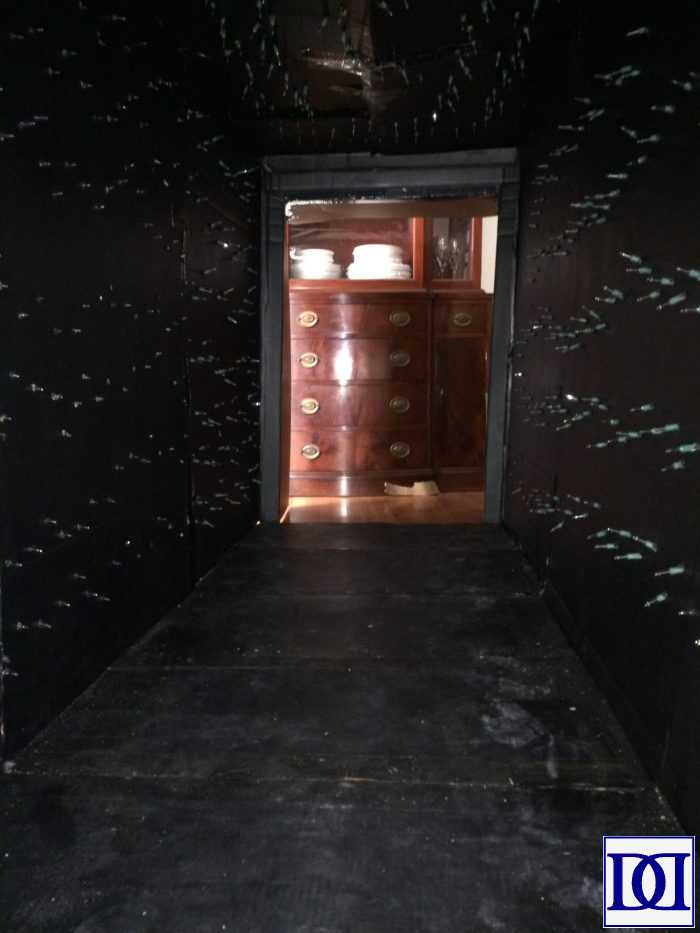
(2) Mark the location of each light and then drill holes to allow for lights to poke through the cardboard (this will be tricky on the sides where you have more than one layer of cardboard).
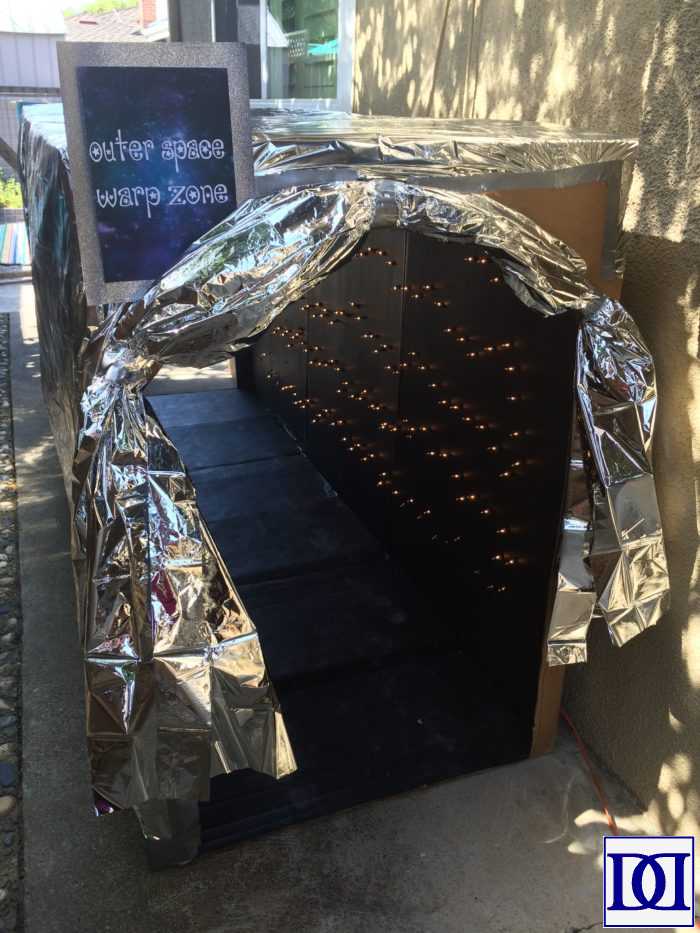
(3) Determine how you want your ends to look. Because we were planning on over a dozen kids using the tunnel outside on a warm day, we opted for open ends. Since it was an “astronaut princess” tunnel, Jenna helped me design the doors to look more like doors for a castle.
(4) Remove lights and paint inside of box black. Once paint dries, re-install lights.
(5) Cover tunnel with emergency blankets, securing with silver duct tape. We added this decorative door and sign too, just for fun!
(6) Plug in and enjoy!!!
Looking for other crazy things to do with cardboard? Come take a look at this Cardboard Cranky Crane and Cardboard Train!
For other space-themed ideas, please check out Once Upon a Galaxy: An Astronaut Princess Birthday!
Leave a Reply