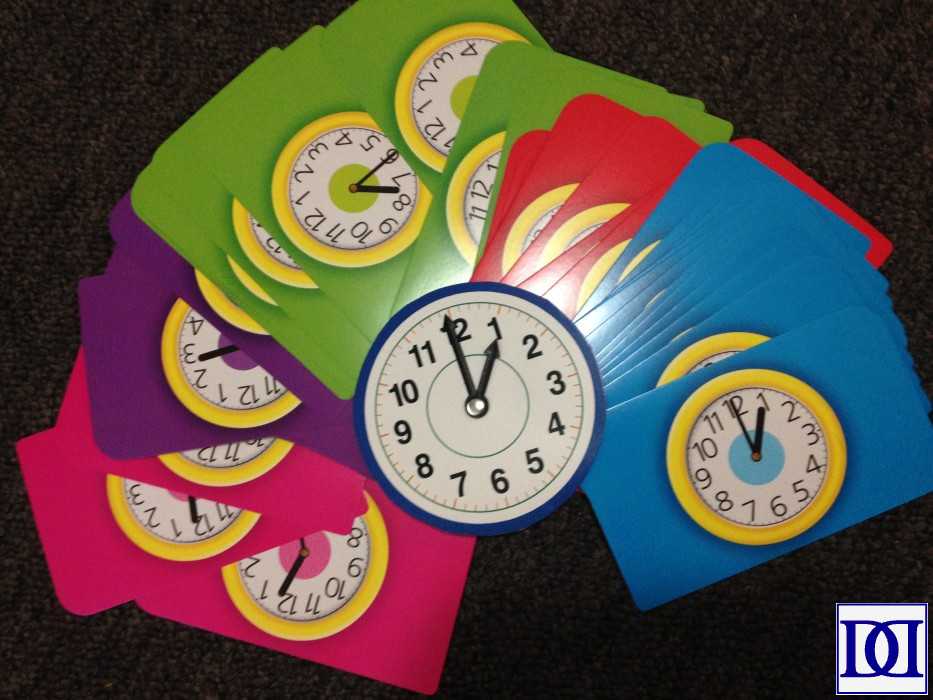
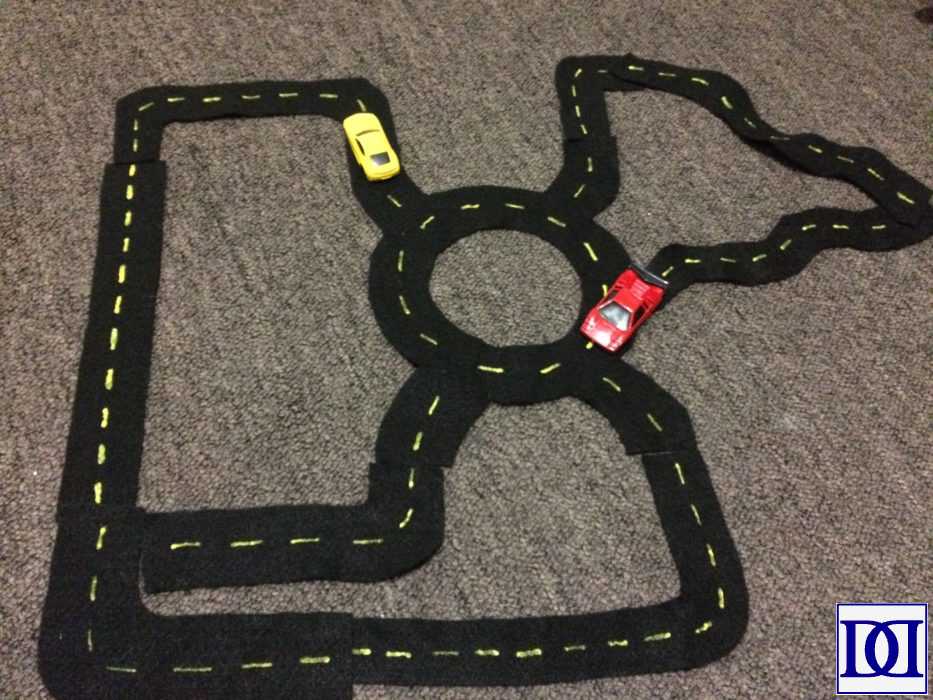
Here is a round-up of my favorite busy bags and boxes. They were extremely easy to put together and very inexpensive (all hail, Dollar Store). They have also bought me countless hours of independent play from my toddler-preschooler.
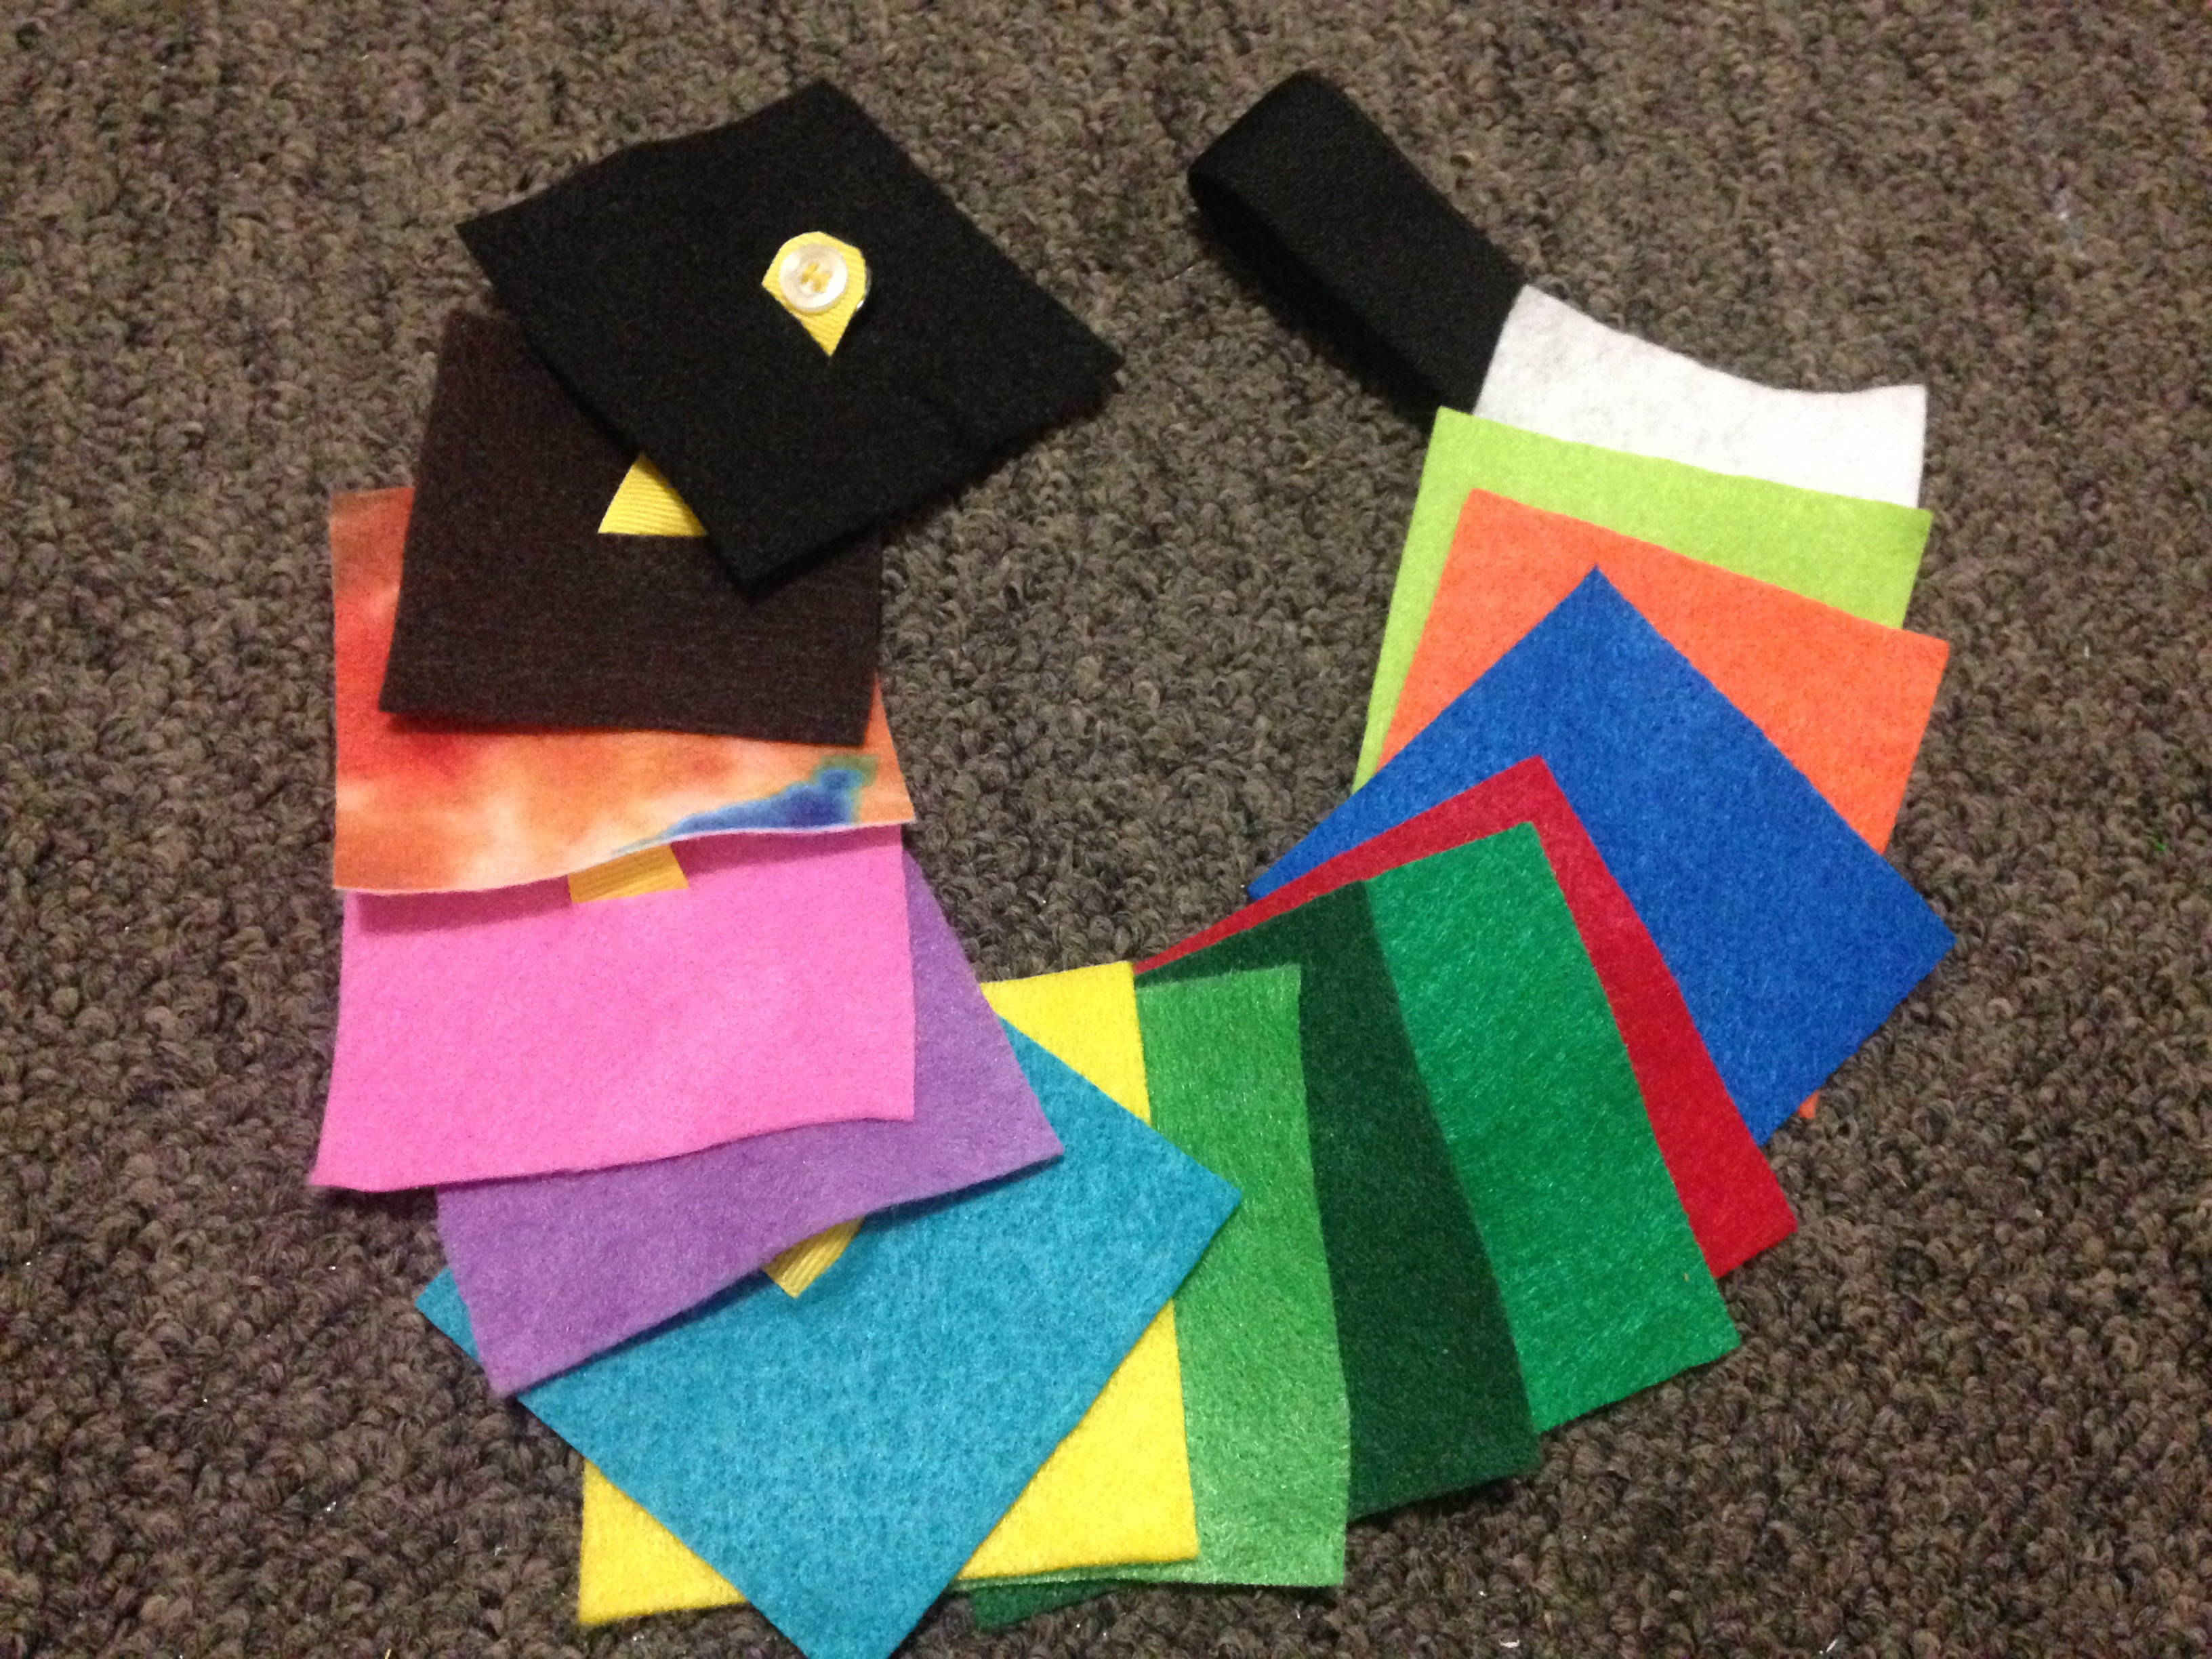
I’ve included links to tutorials and printables where applicable. Basically, I bought 90% of my materials at the Dollar Store and otherwise, used cardstock paper, laminate sheets, and sticker paper.
They can also grow with your children with slightly more complicated parameters. I hope they bring as much joy and peace to your family as they have mine!
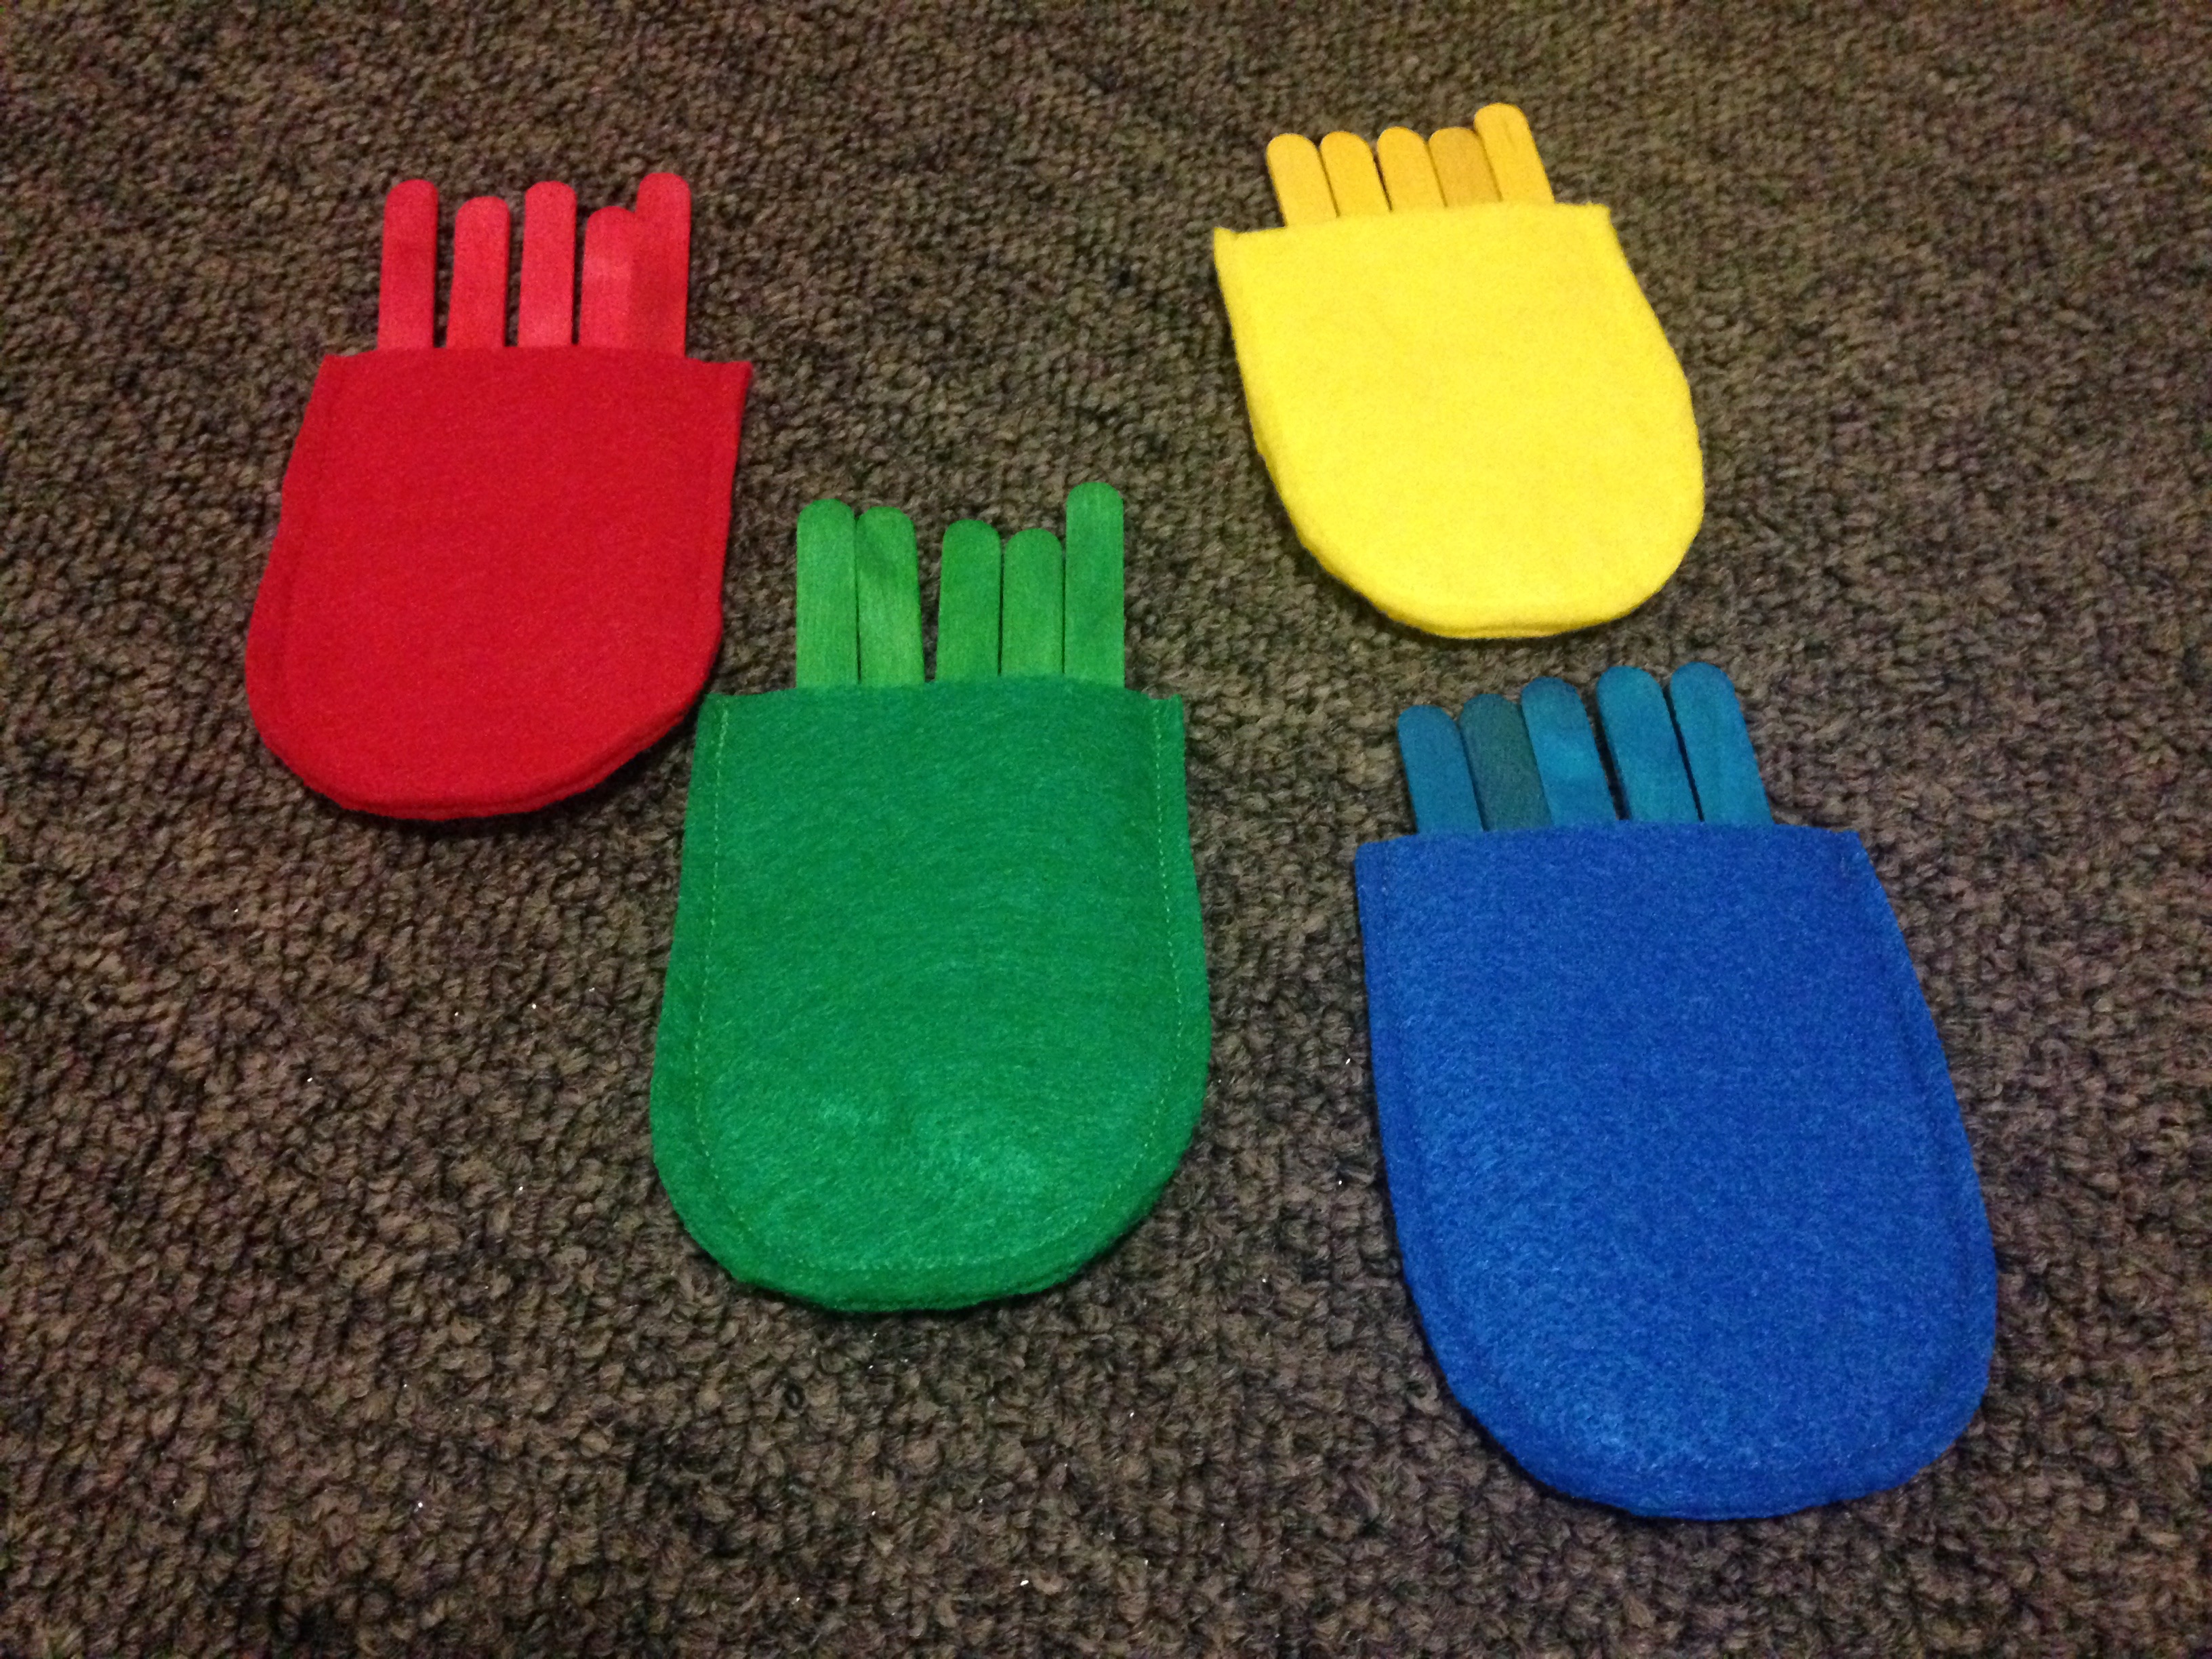
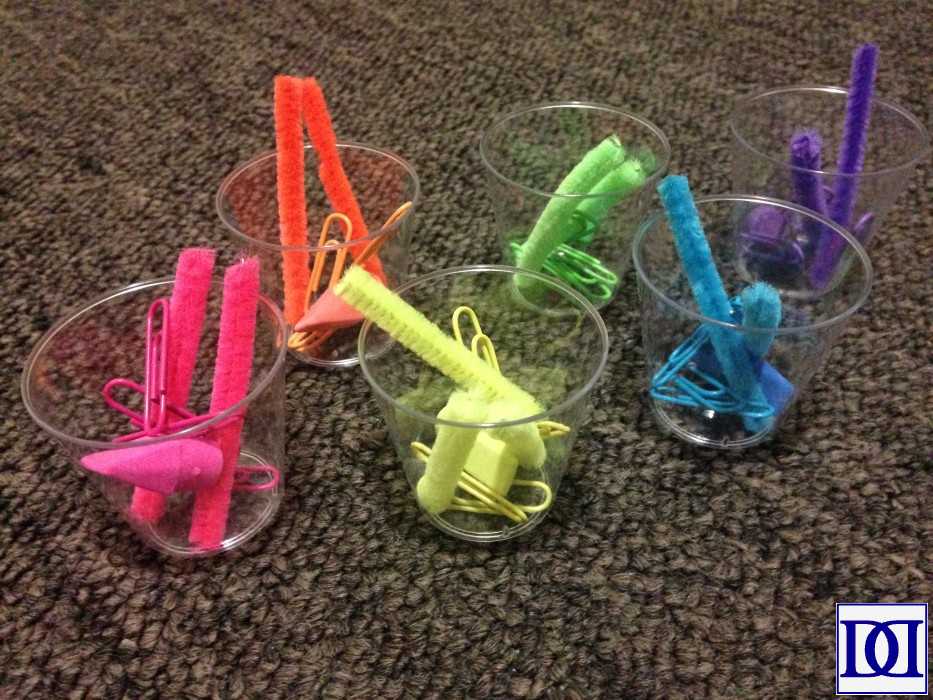
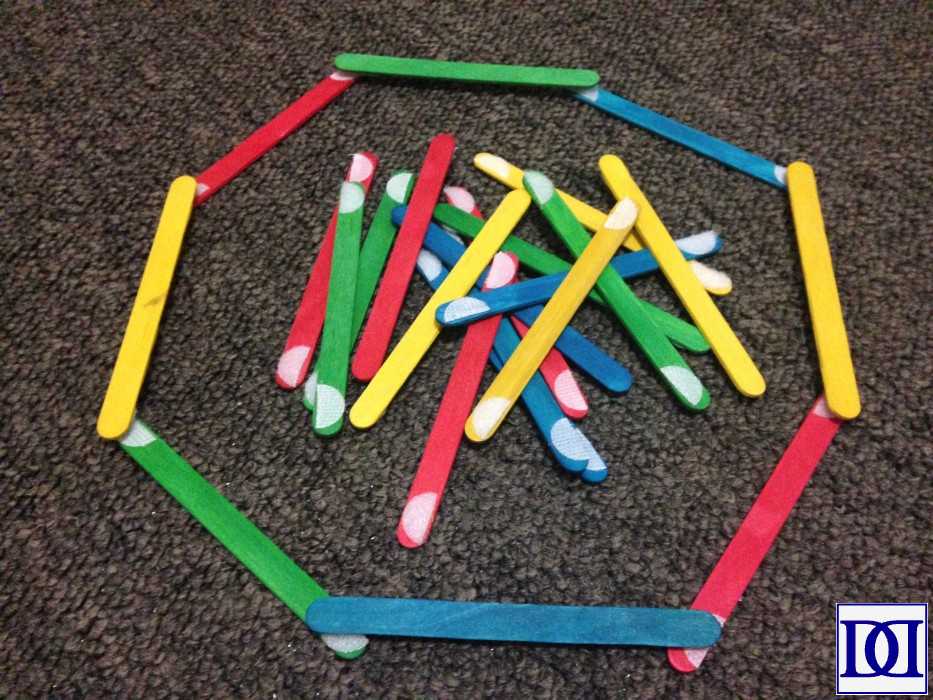
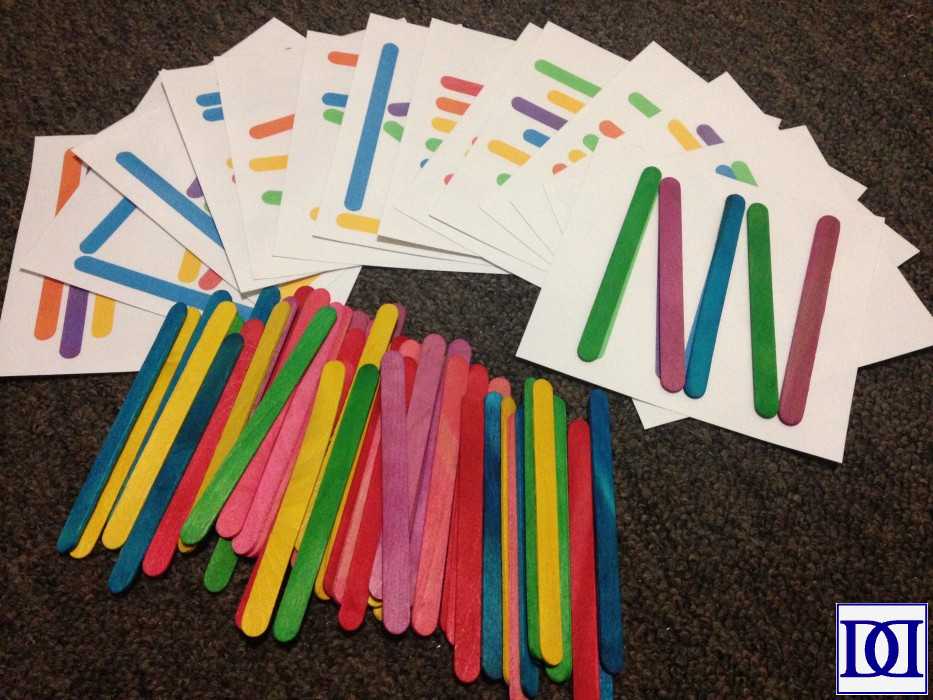
Color Matching Sticks
(1) Cut two pieces of felt. (2) Sew together. (3) Stuff with similar color popsicle sticks.
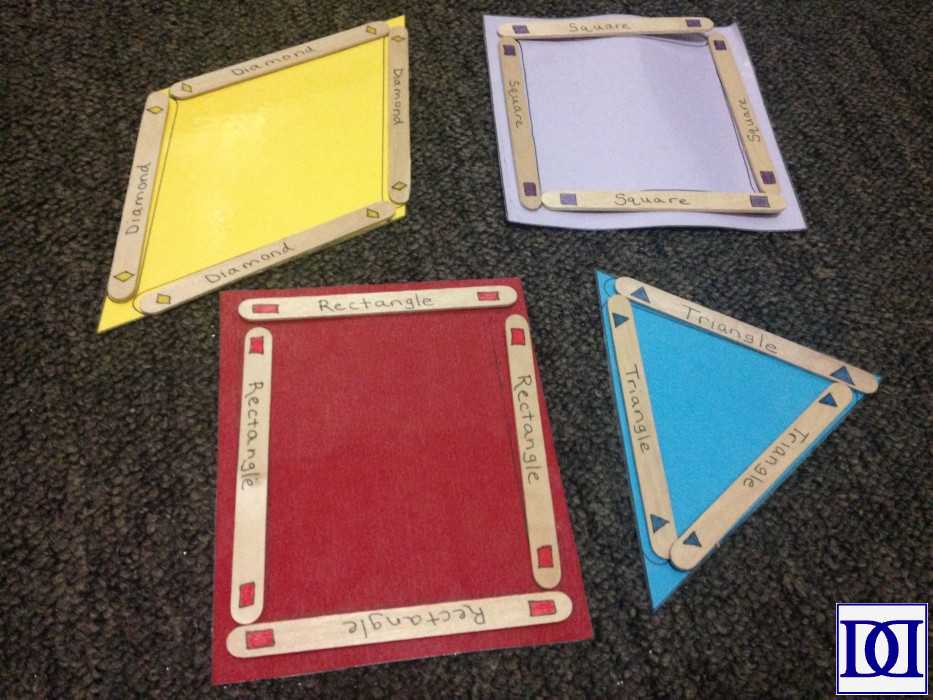
(1) Cut out and laminate shapes. (2) Trace shape of popsicle sticks around shapes. (3) Label popsicle sticks needed for each shape.
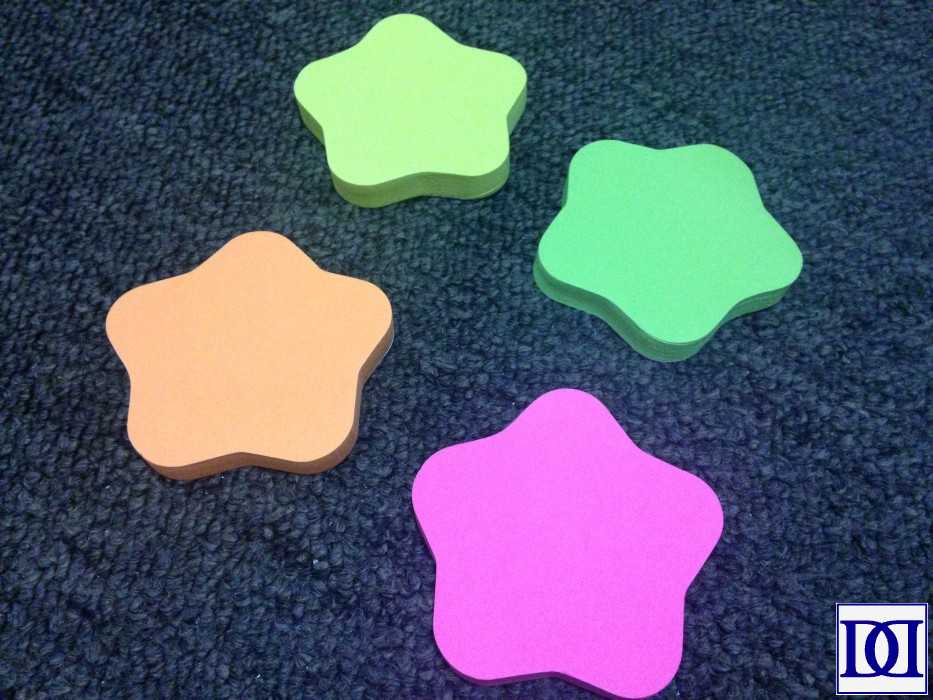
Post-Its
Colorful and interesting post-it notes that can be stuck anywhere (don’t leave a residue like some stickers).
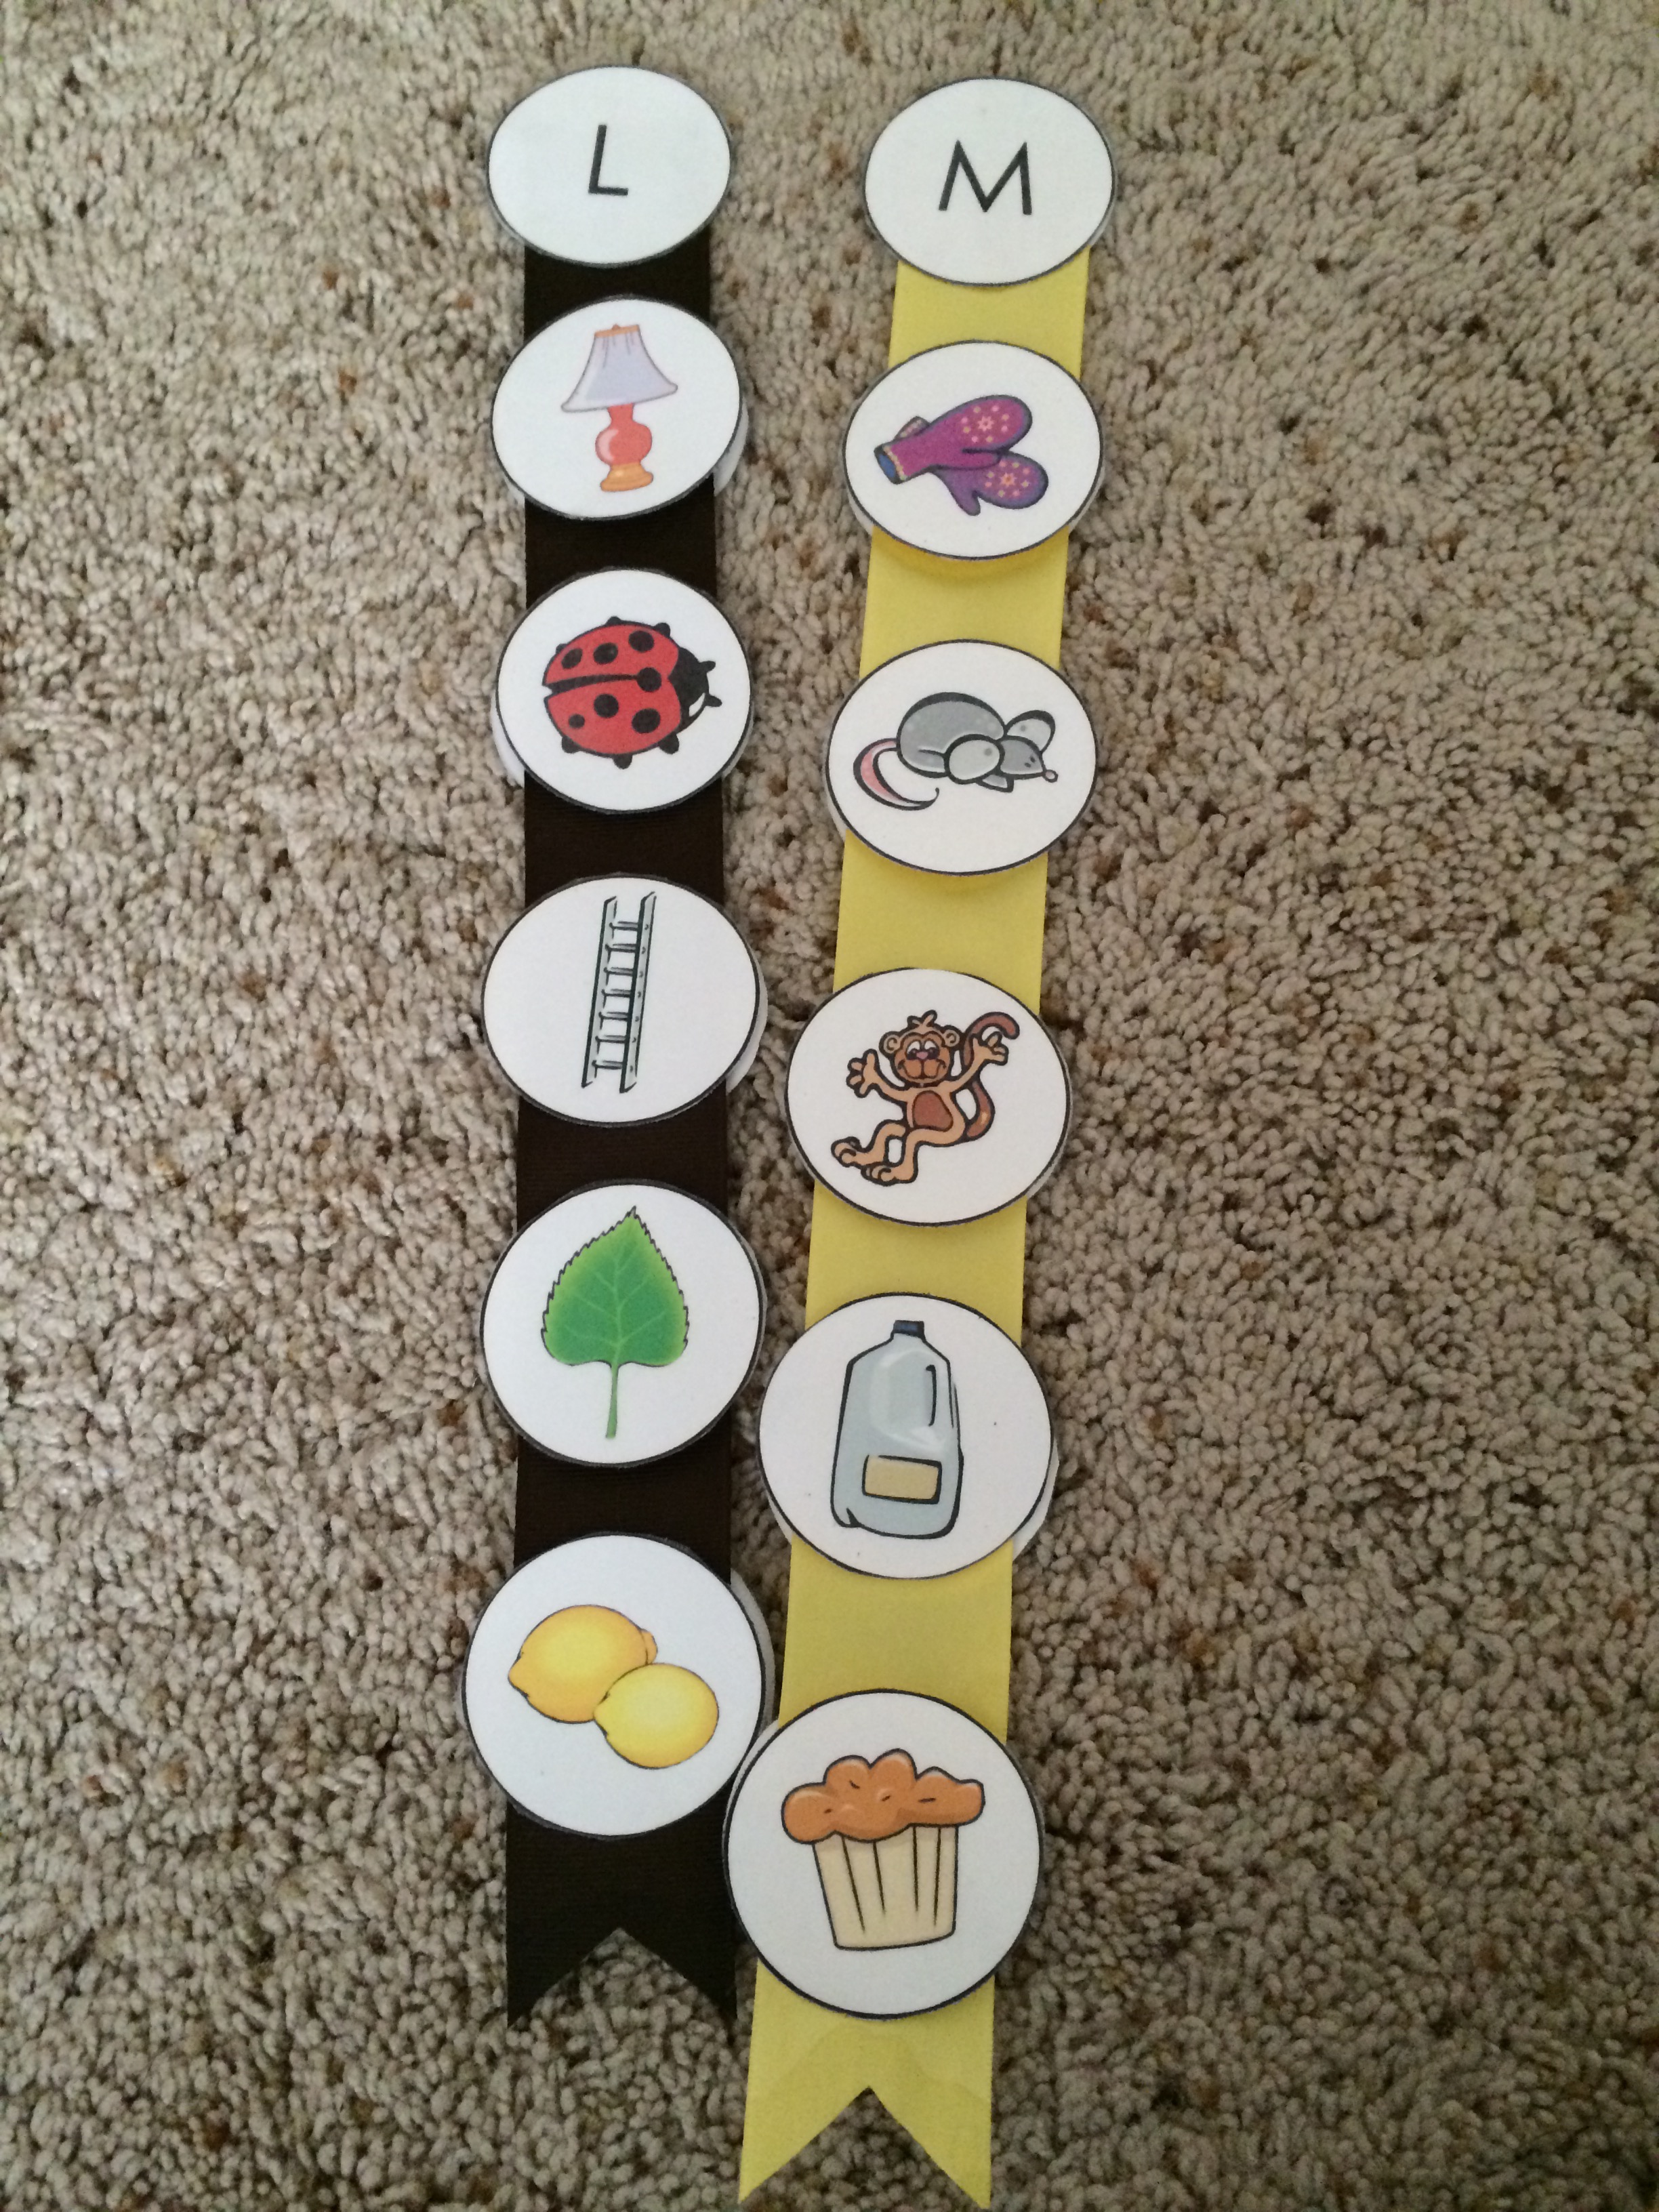
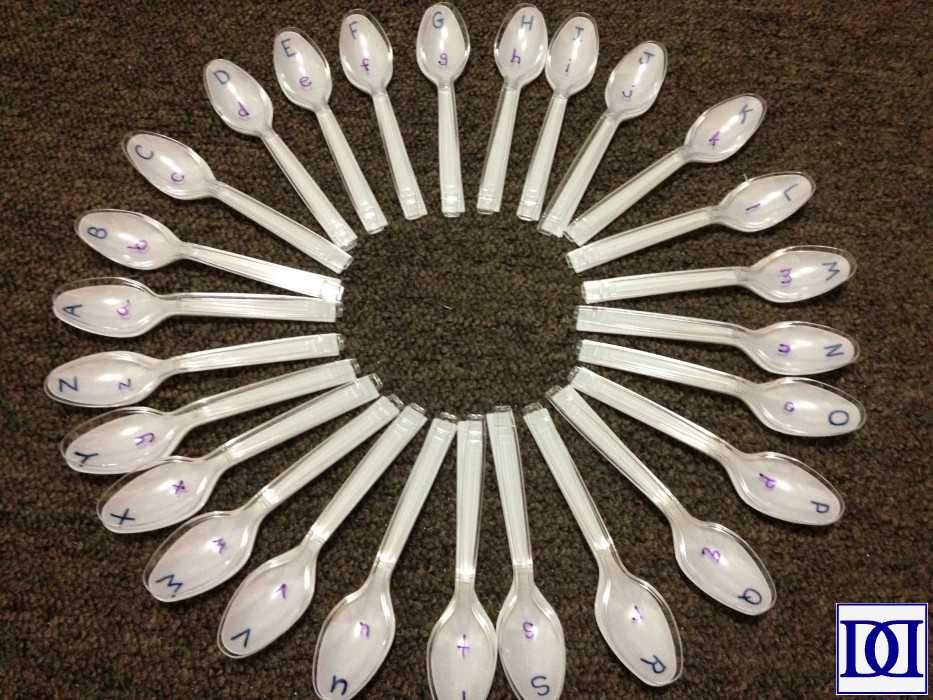
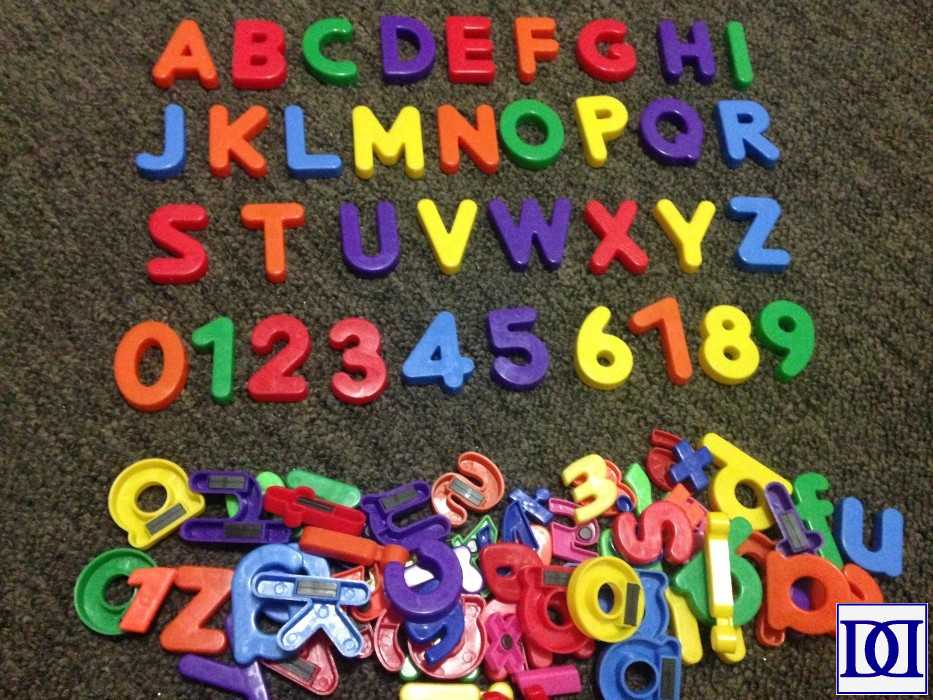
Spoon Alphabets
(1) Write uppercase letters on white spoons. (2) Write lower case letters on clear spoons.
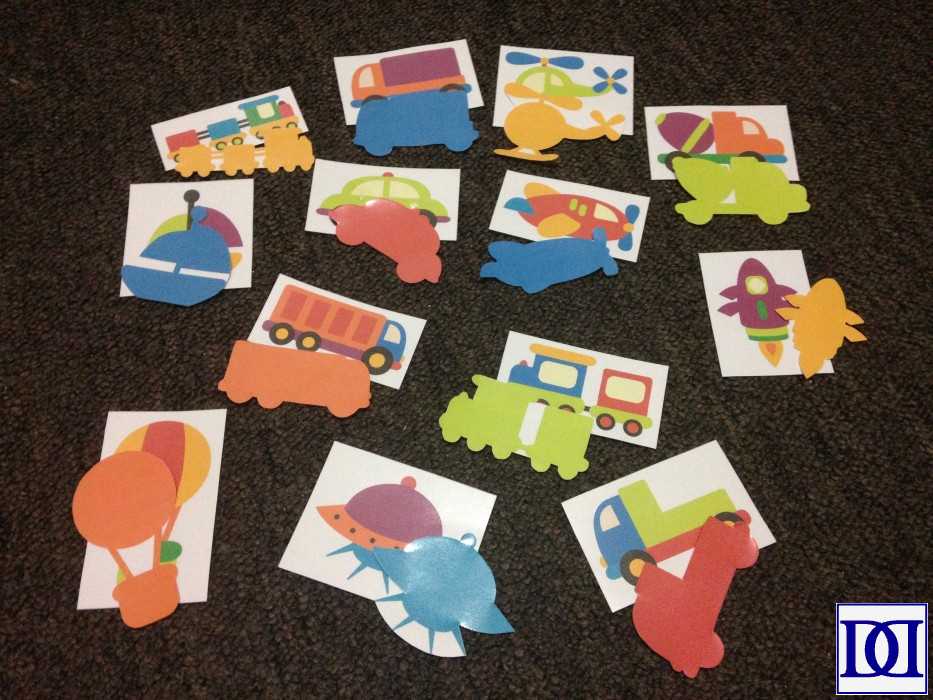
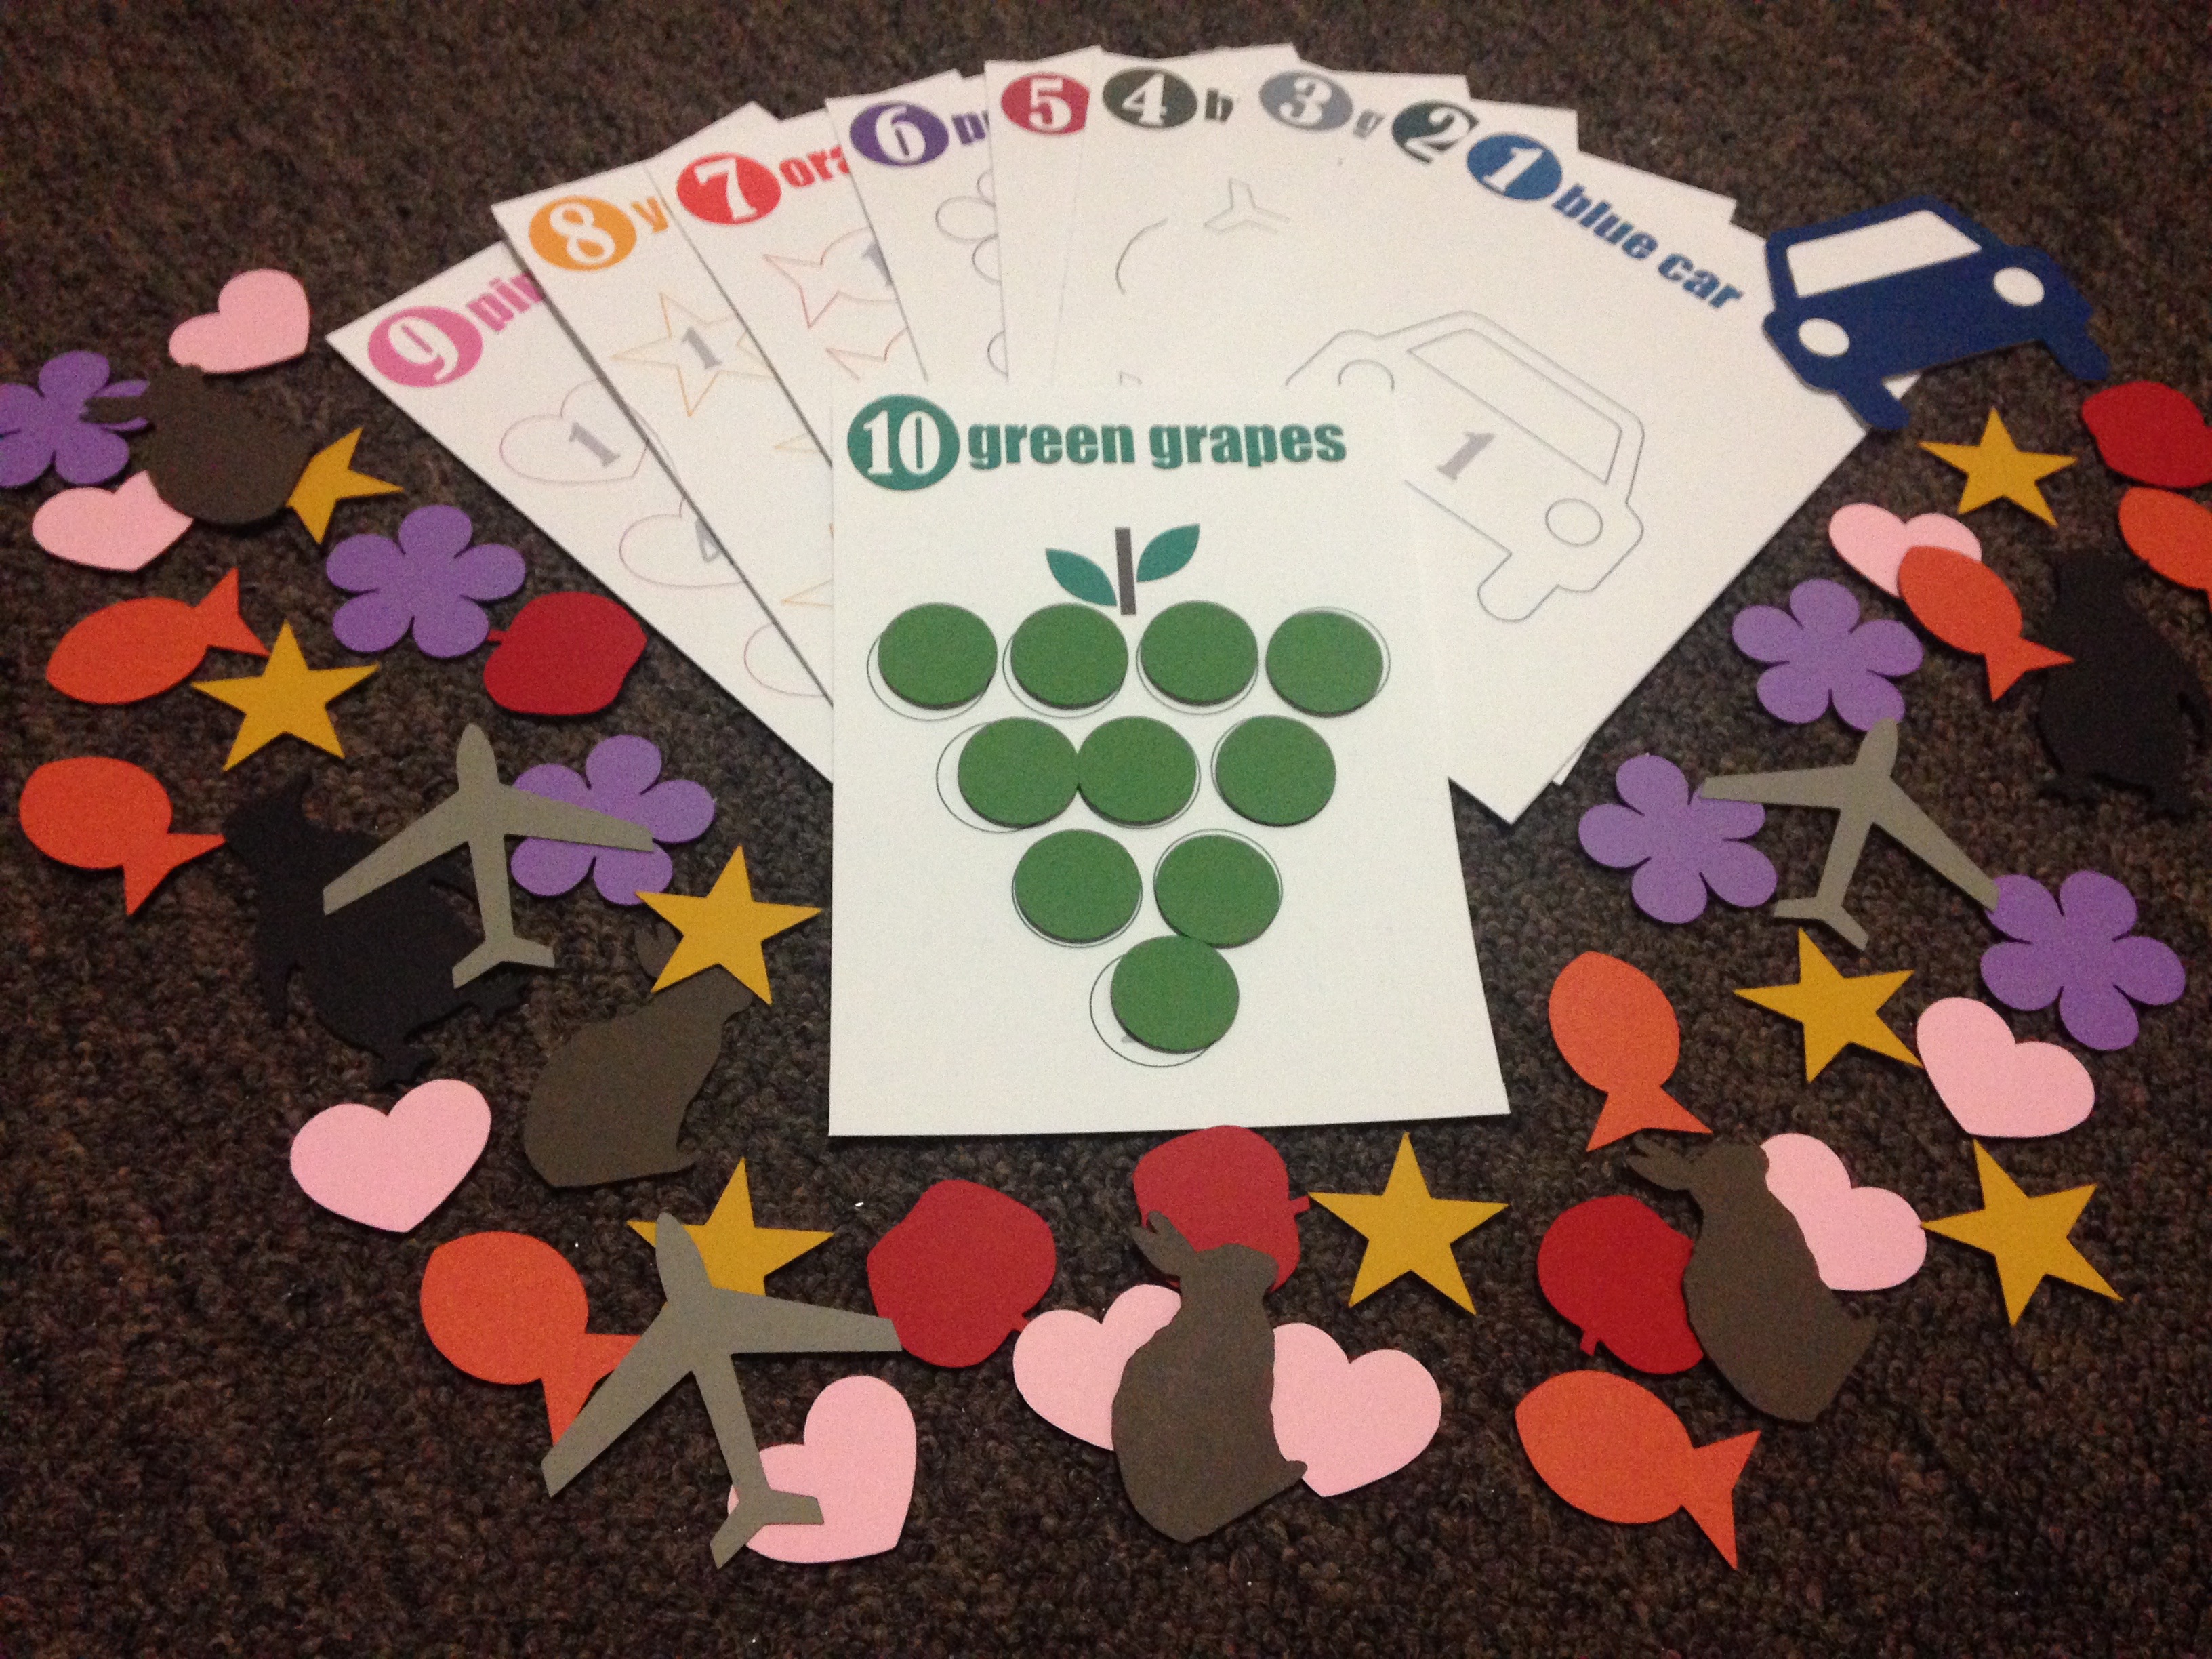
Stick Puzzles
(1) Print out pictures on sticker paper. (2) Stick paper on rows of popsicle sticks. (3) Using an exacto-knife (or something similar), separate popsicle sticks to create “pieces” of the puzzle.
(1) Print printable from above link. (2) Laminate and cut in half.
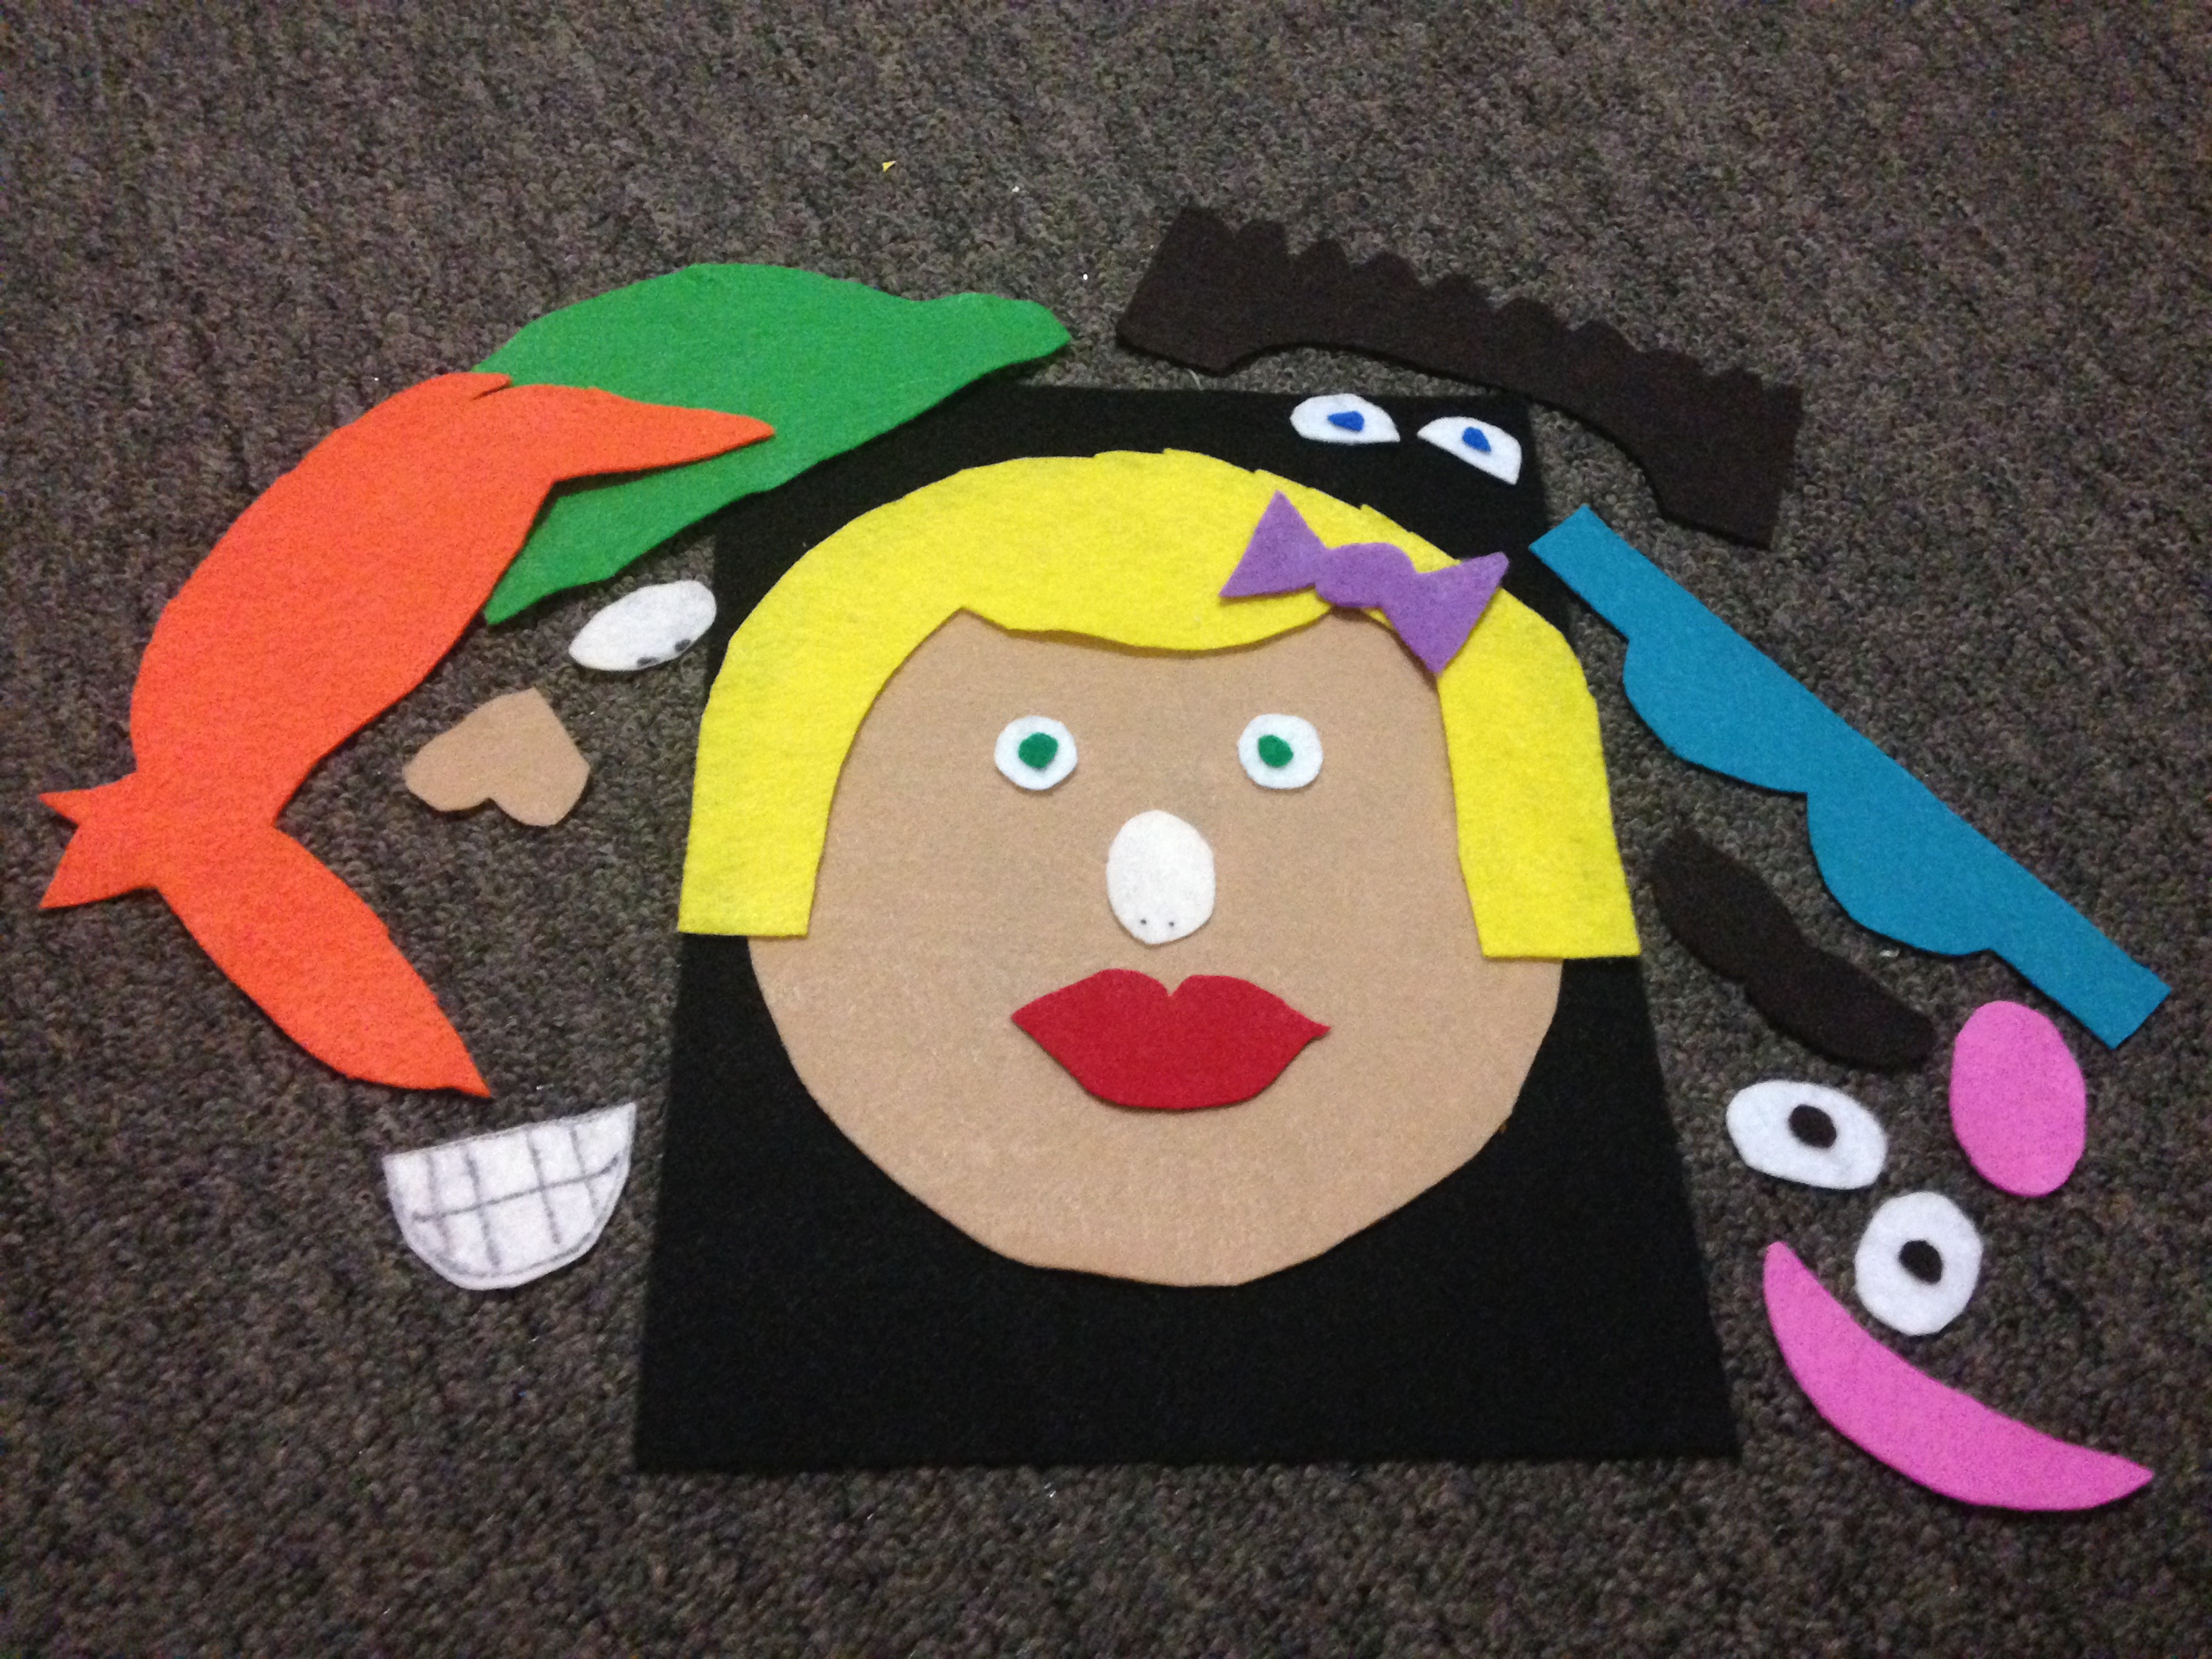
Felt Faces
(1) Cut circle of felt and glue to background. (2) Cut random facial features and accessories out of corresponding felt.
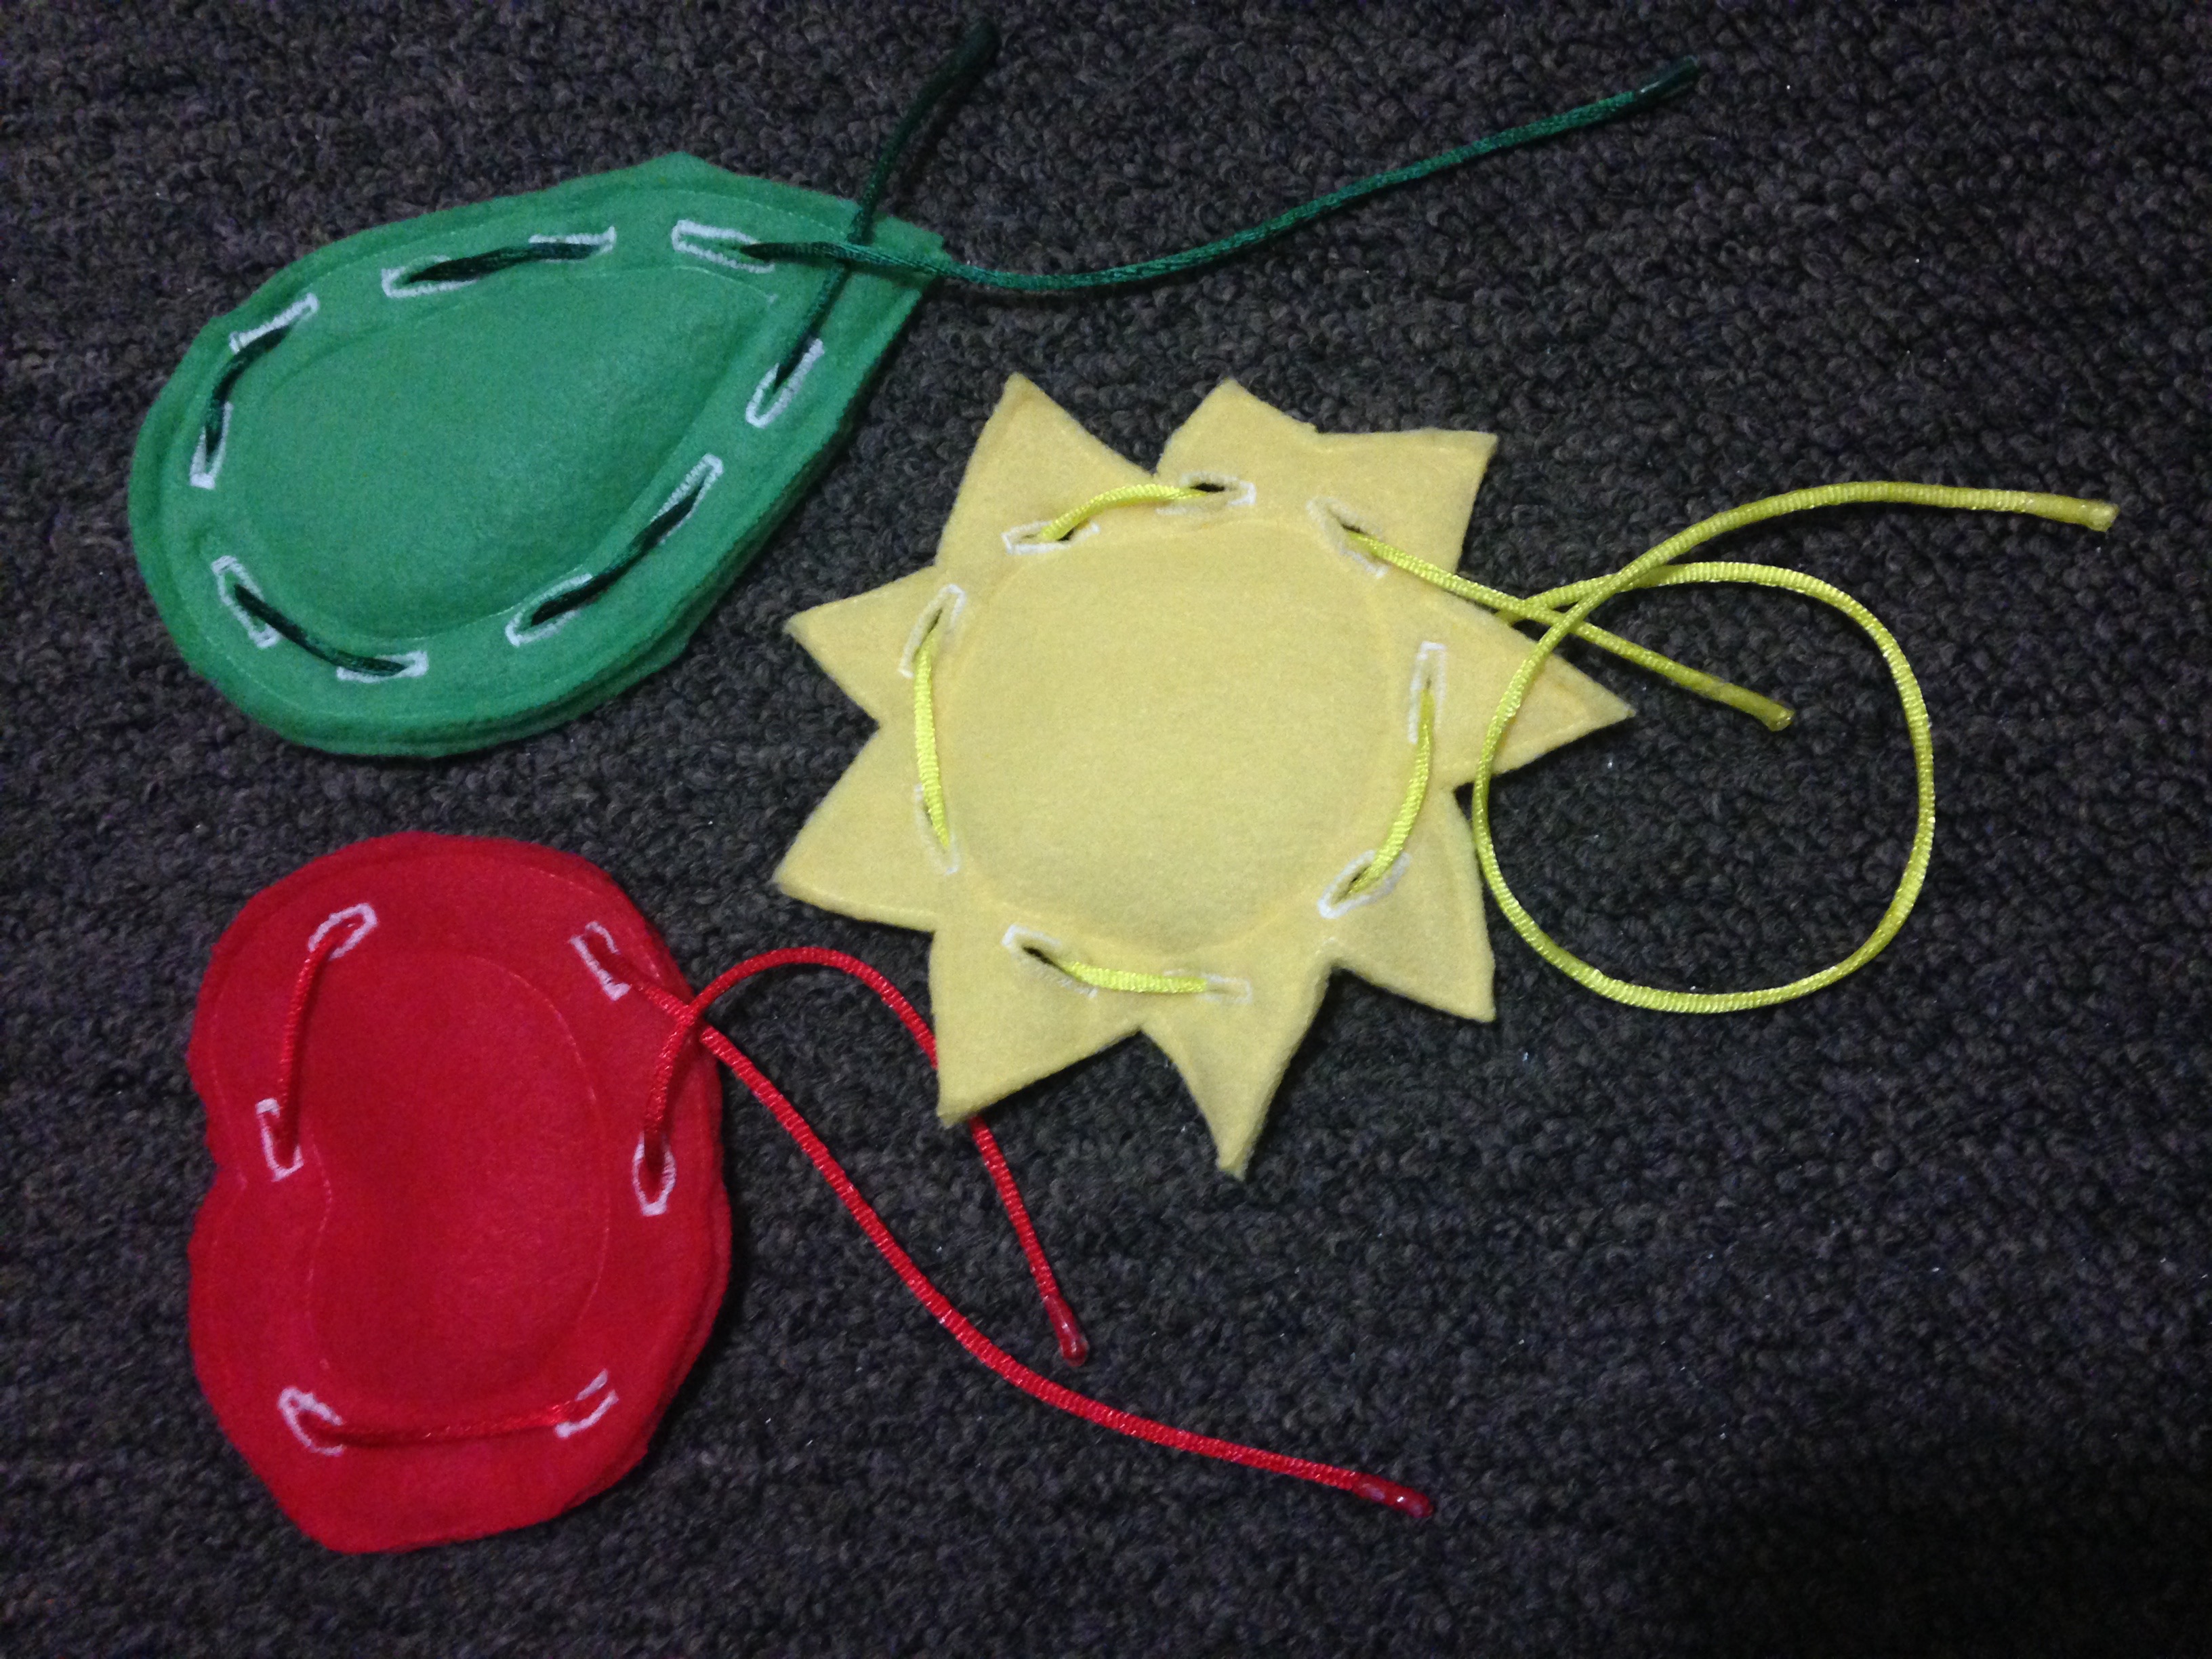
Button Snake
(1) Sew button on one end of a ribbon. (2) Sew elastic band on the other end of the same ribbon. (3) Cut squares of felt, cutting a small slit in middle of the square big enough for your button and ribbon to feed through.
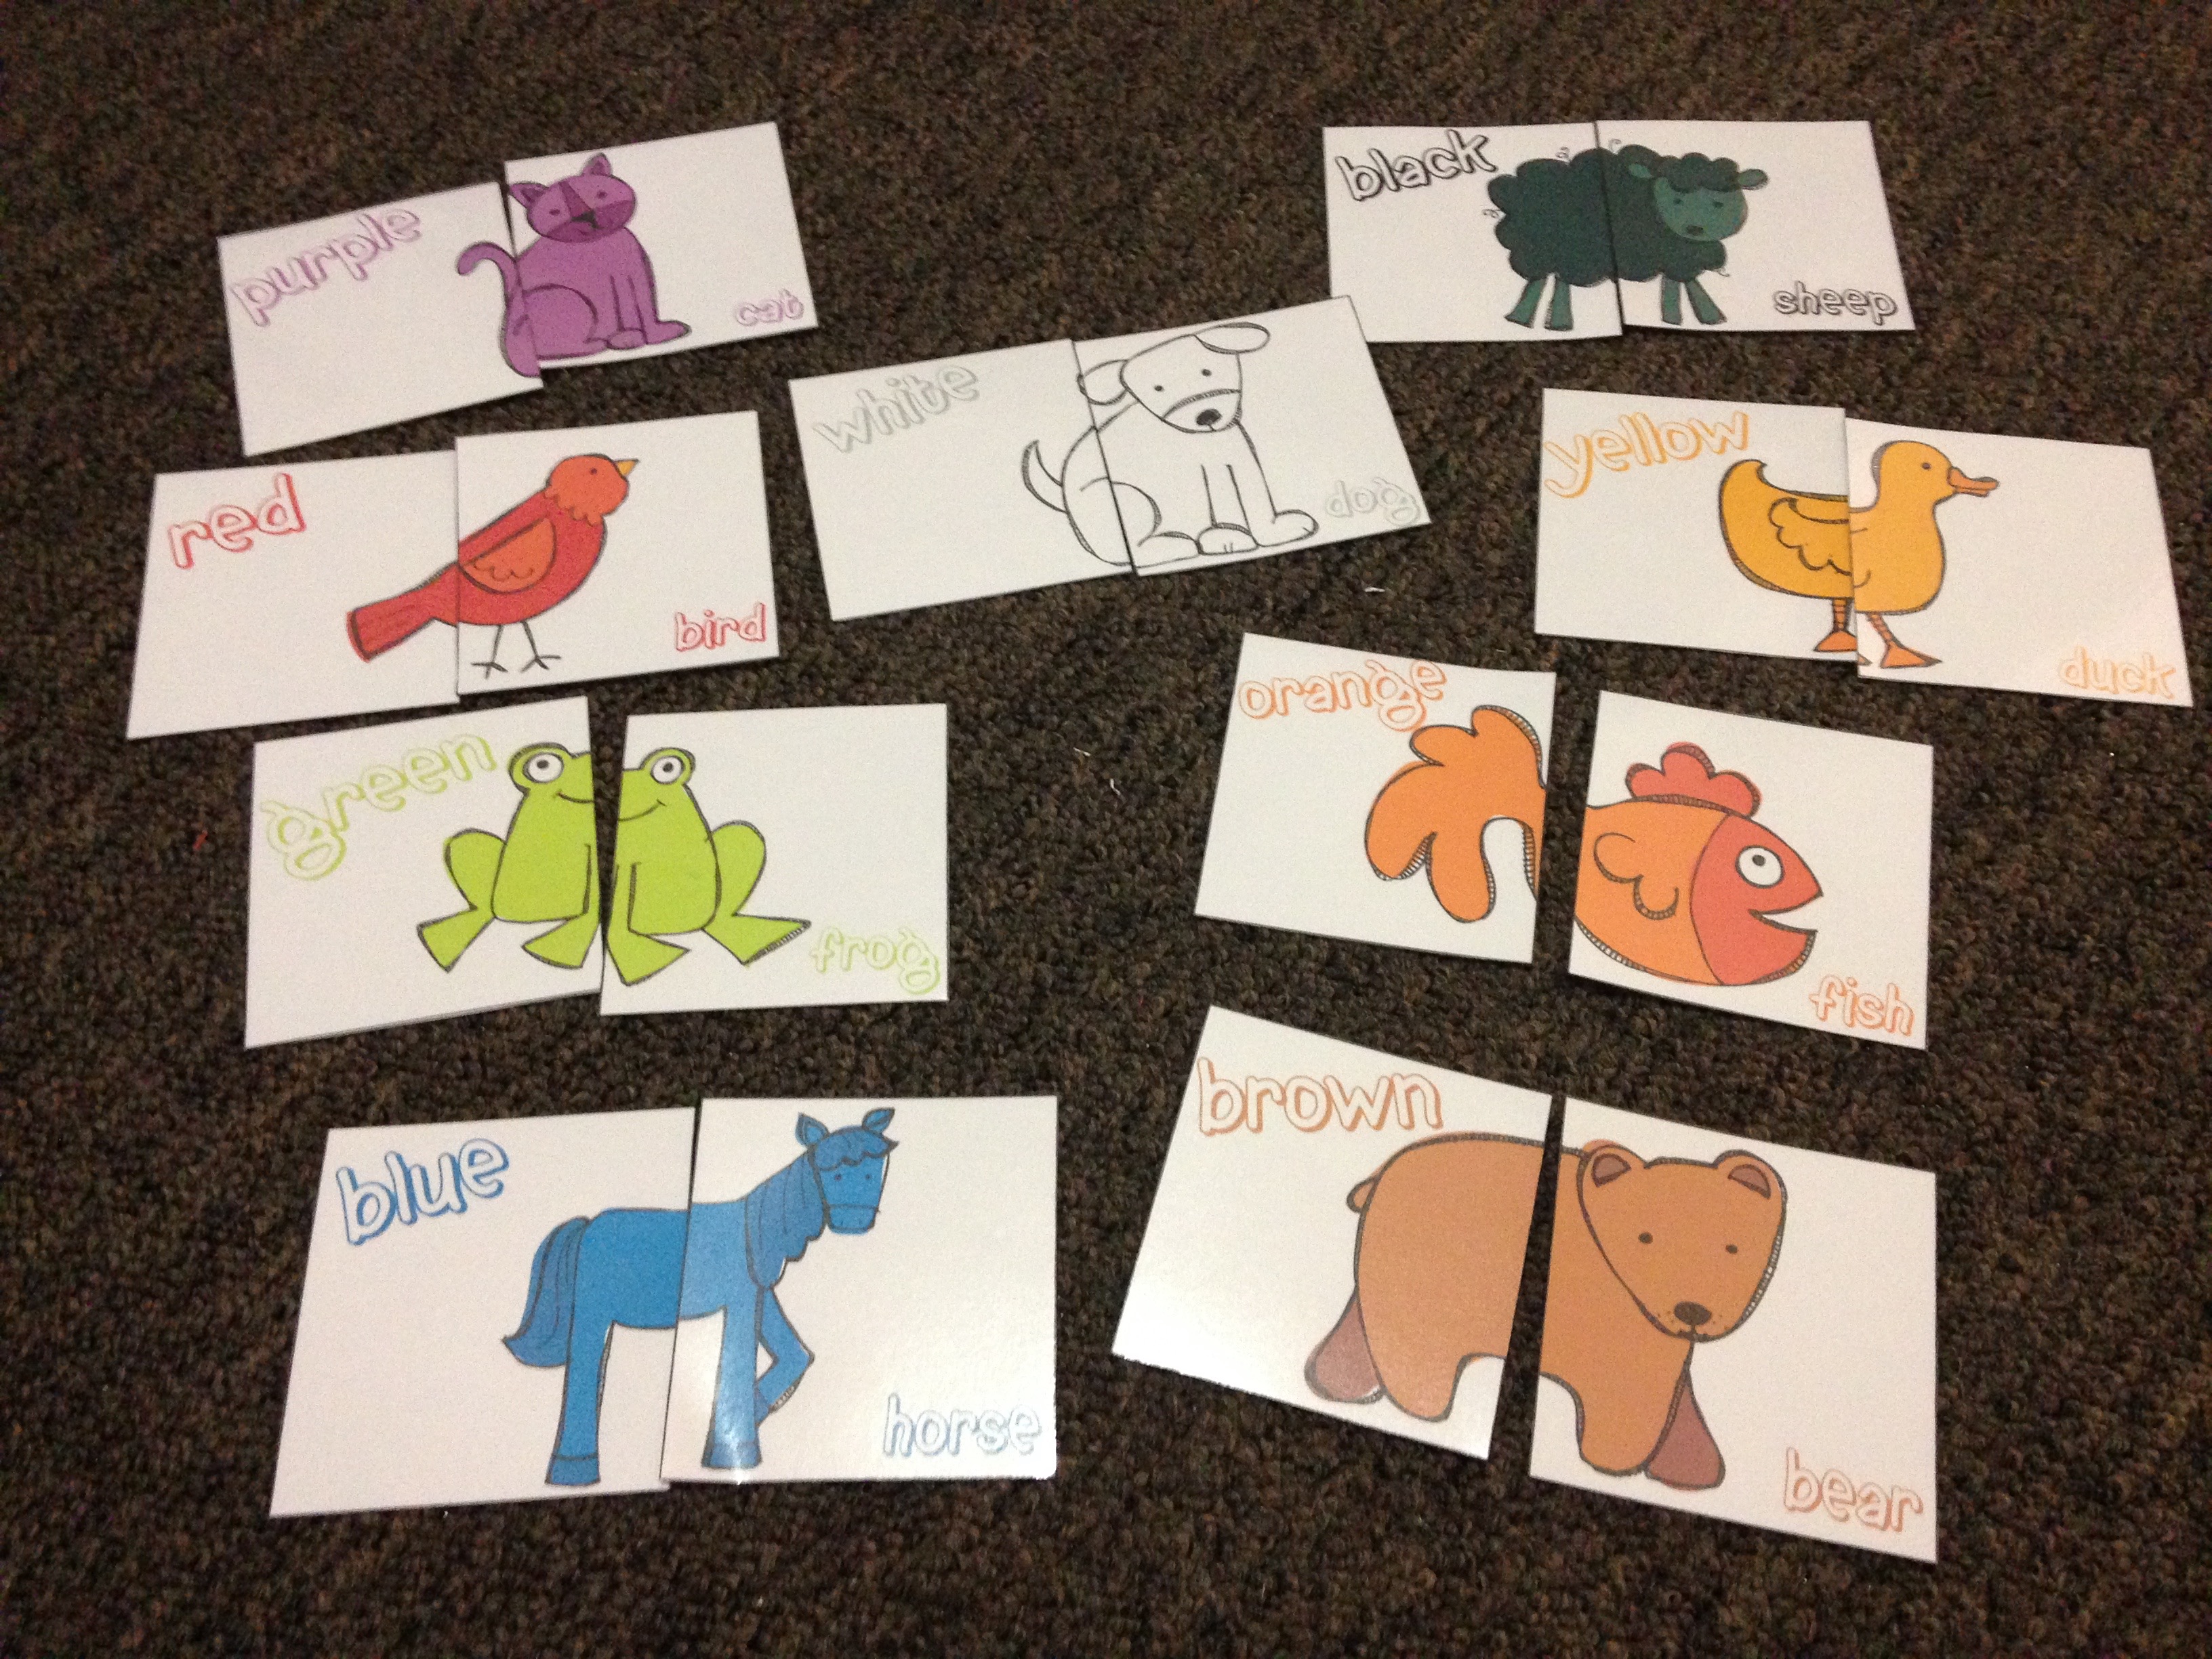
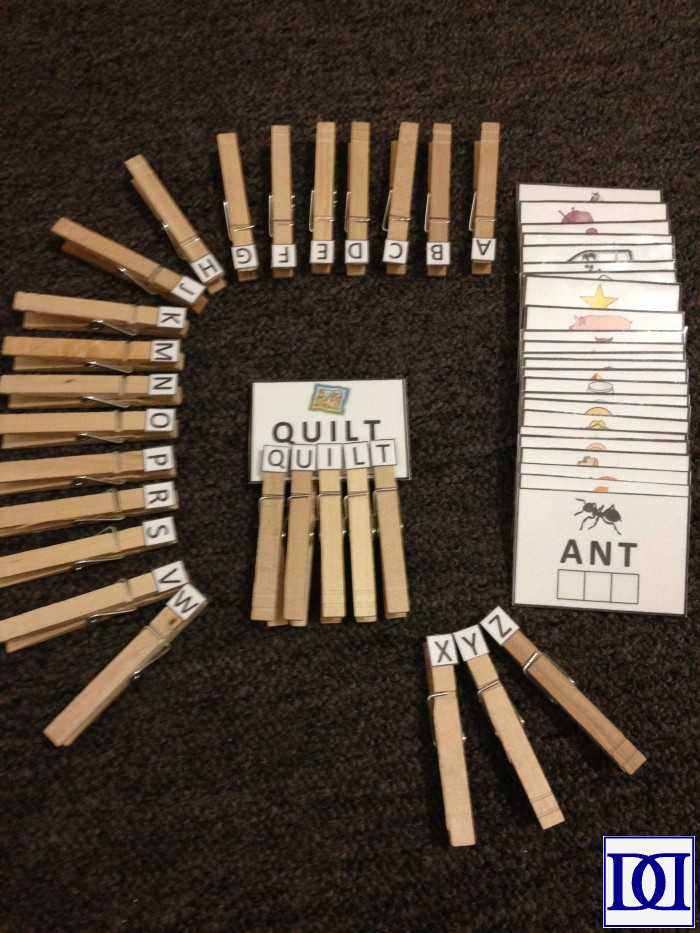
A dear friend made these, and you can use the printable linked above. (1) Print cards and laminate. (2) Cut out shapes on laminated construction paper or print, laminate, and cut. (2) Affix magnets to the back of the cards and the backs of the shapes.
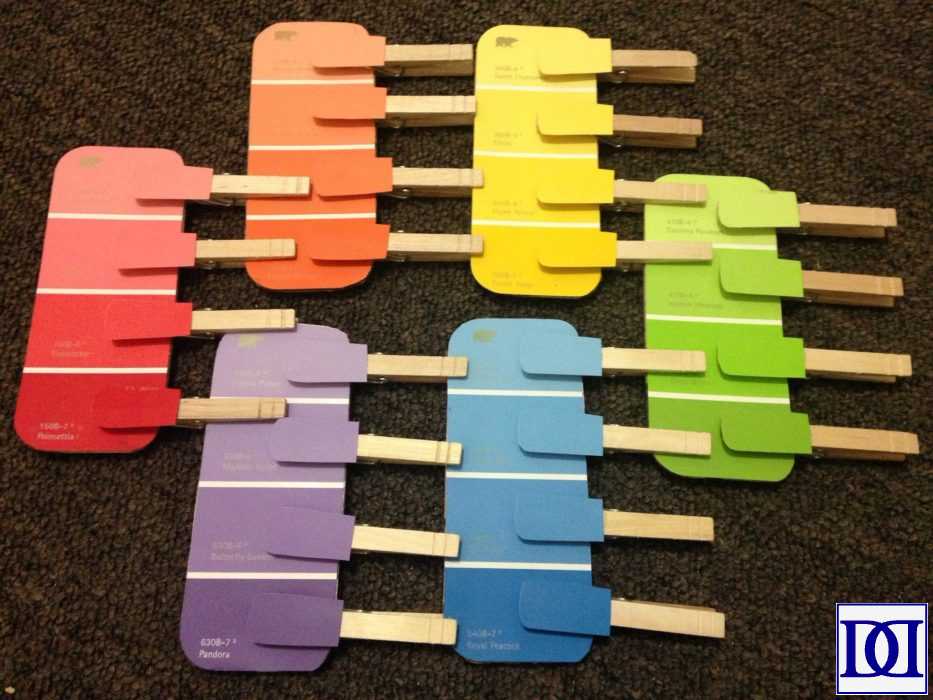
Paint Chip Matching
(1) Cut paint chips to desired size (color sheets and individual shade pieces). (2) Glue sheet to cardboard for stability. (3) Glue paint chip pieces to clothespins.
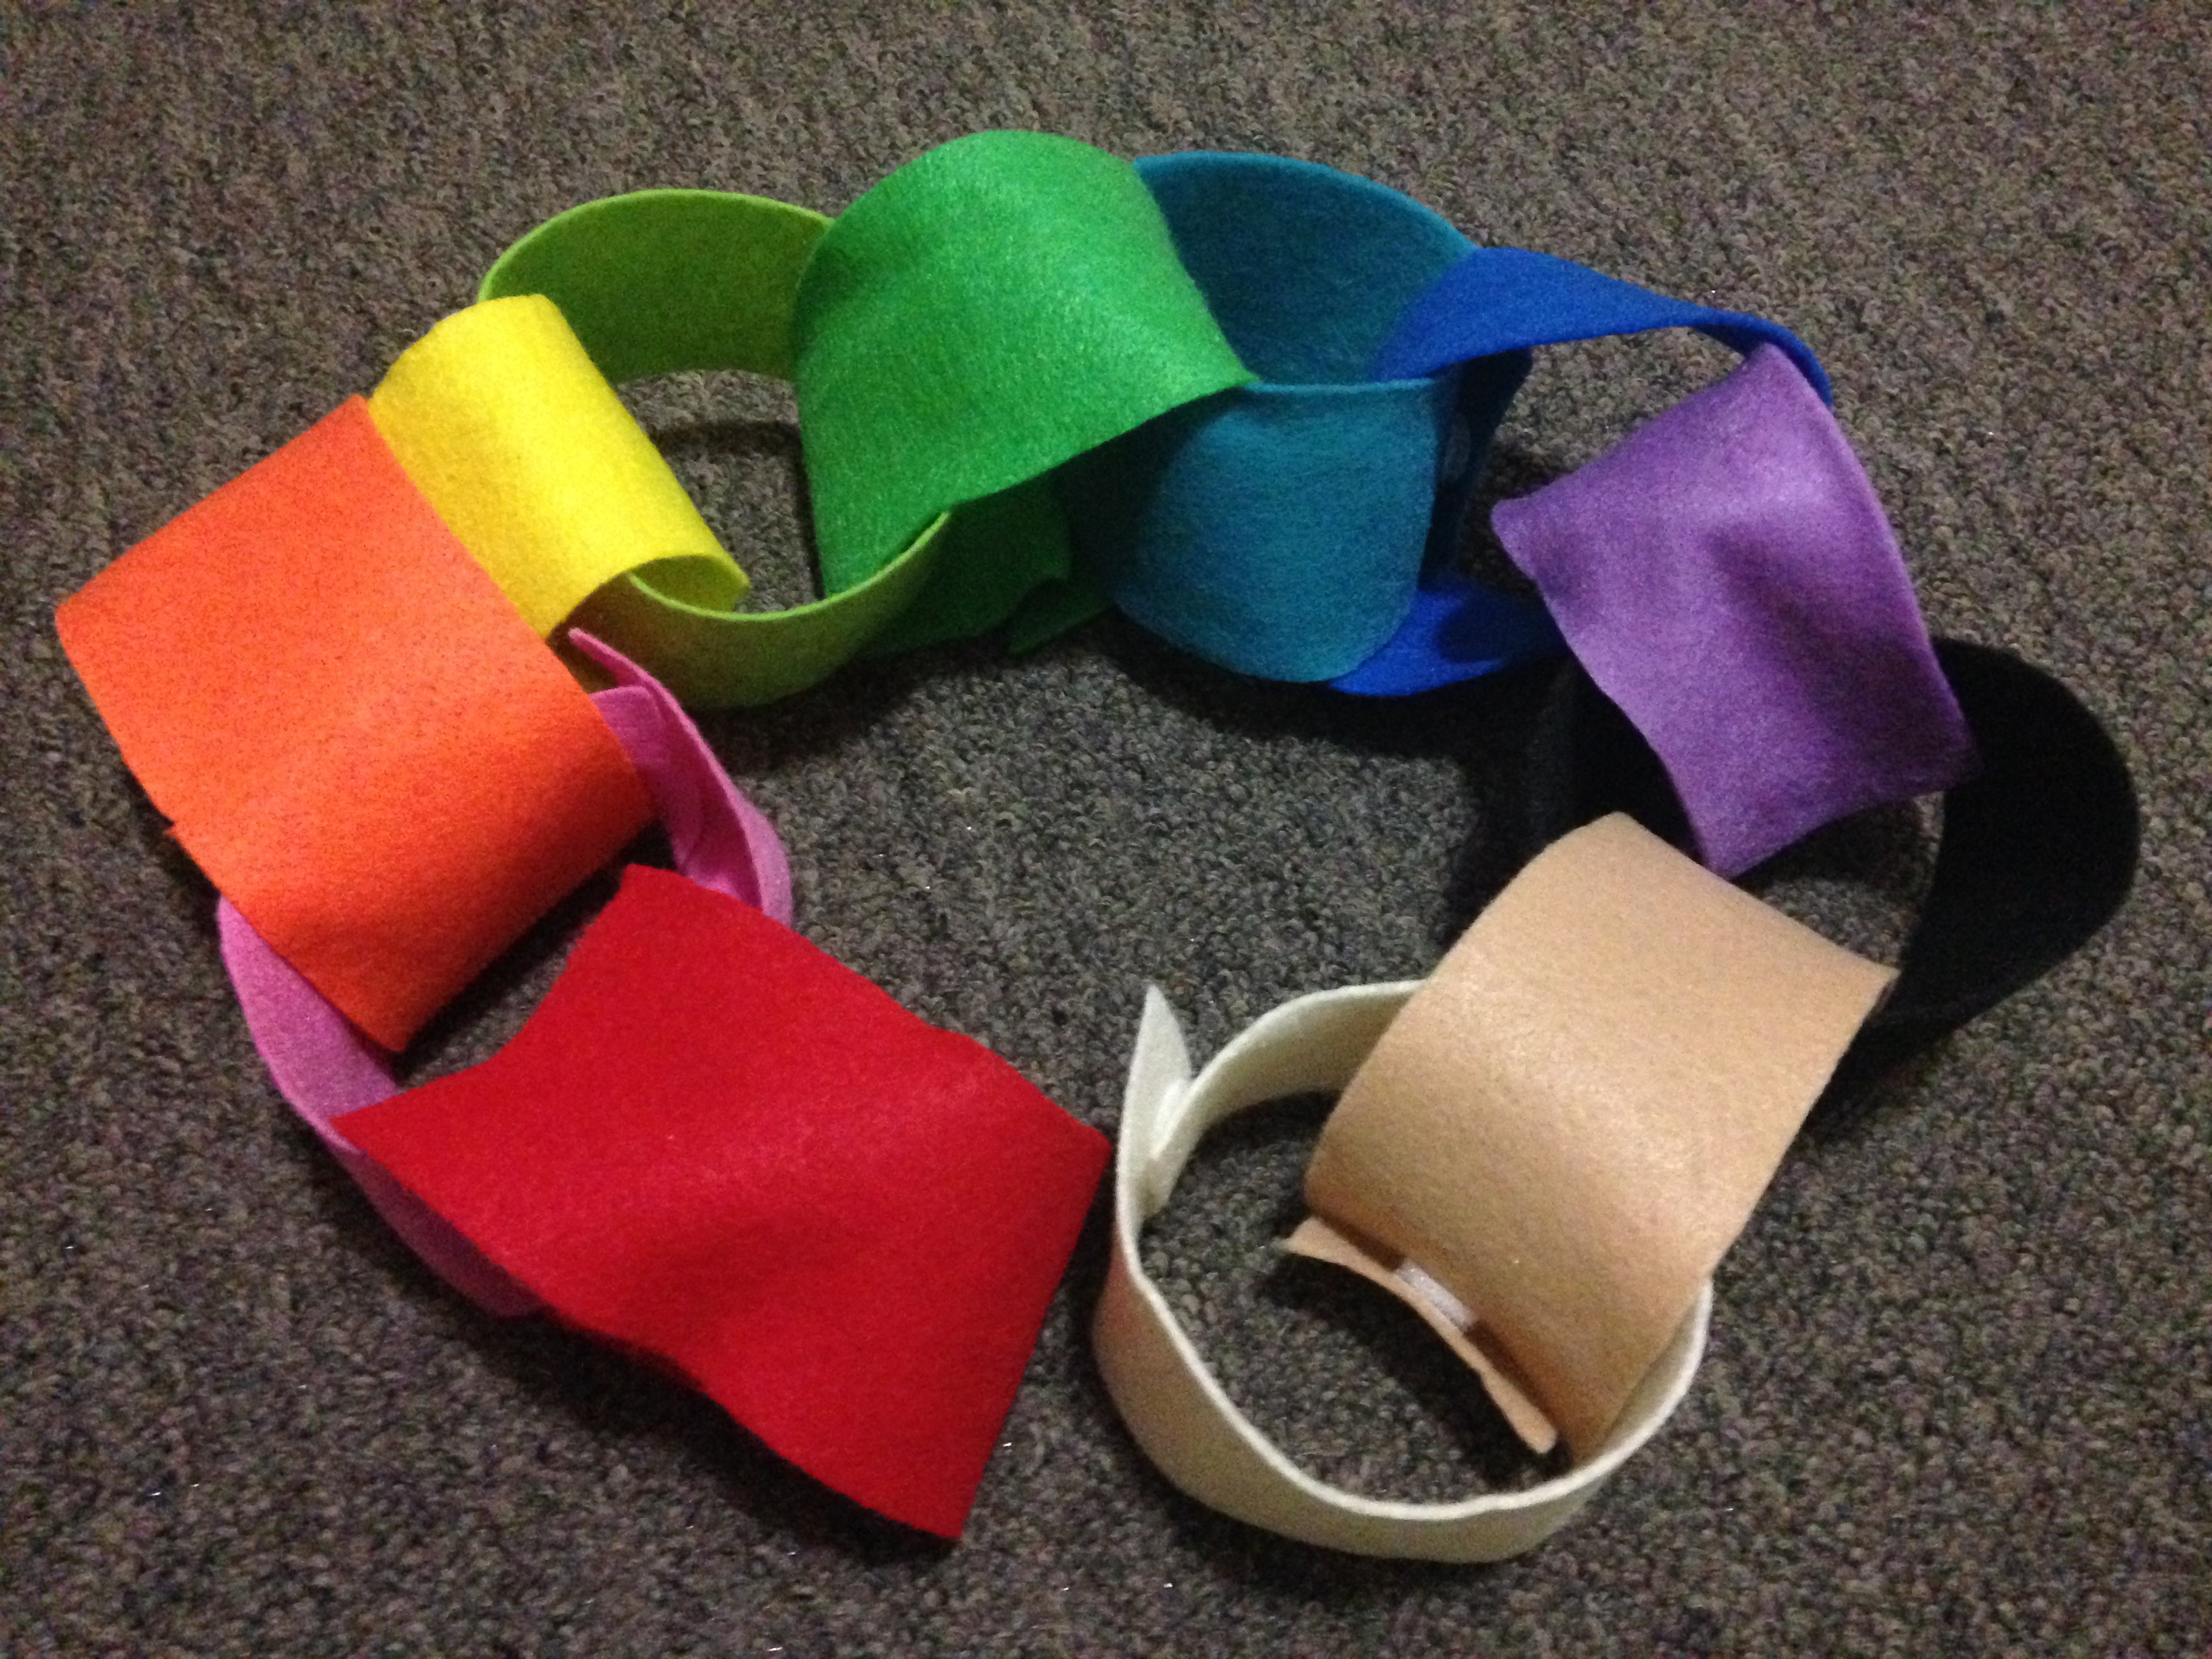
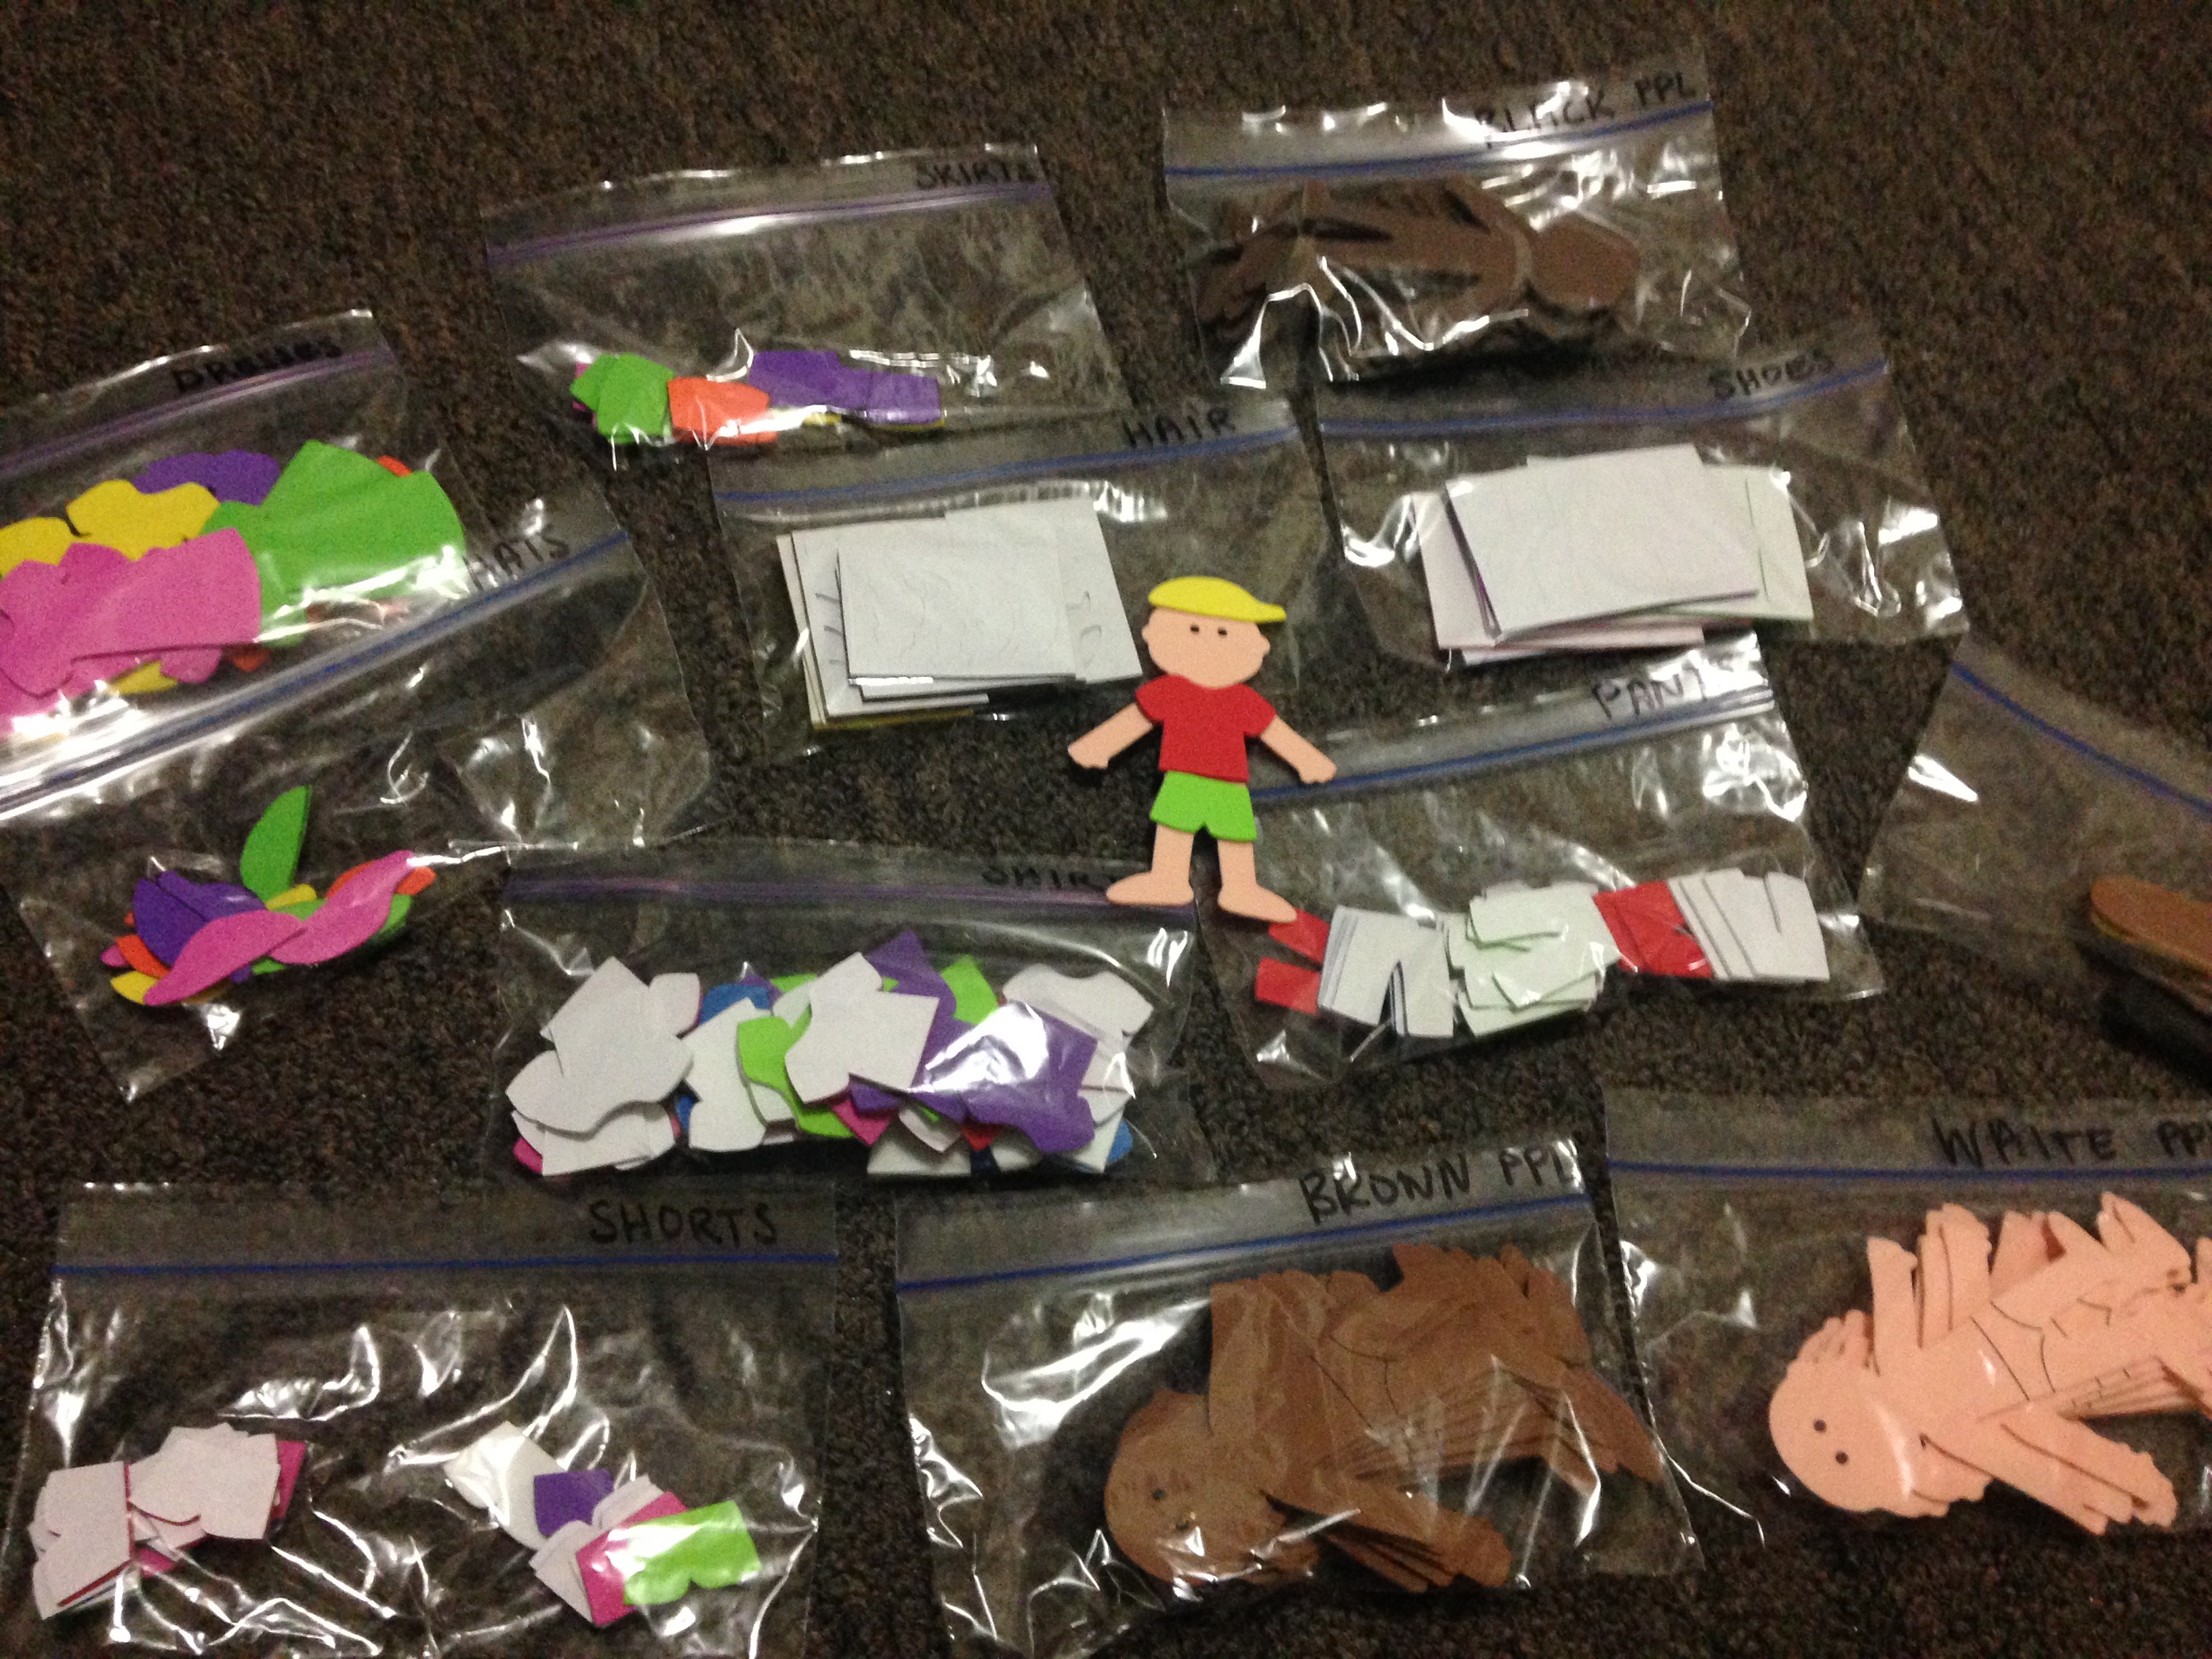
Foam Dress Up
I found this set at JoAnn’s and organized the pieces in their own snack sized ziploc bags.
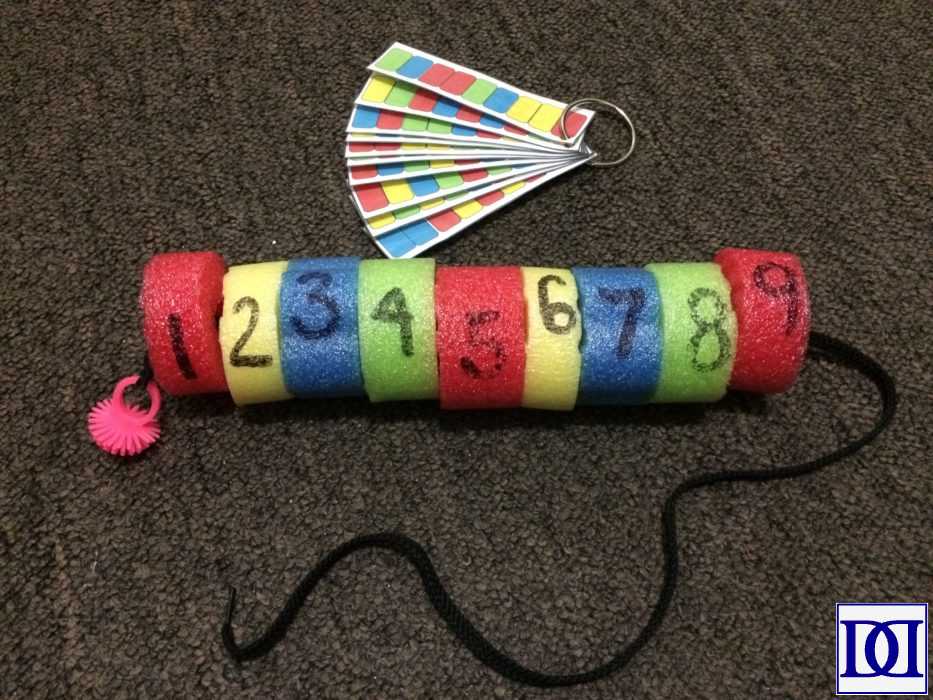
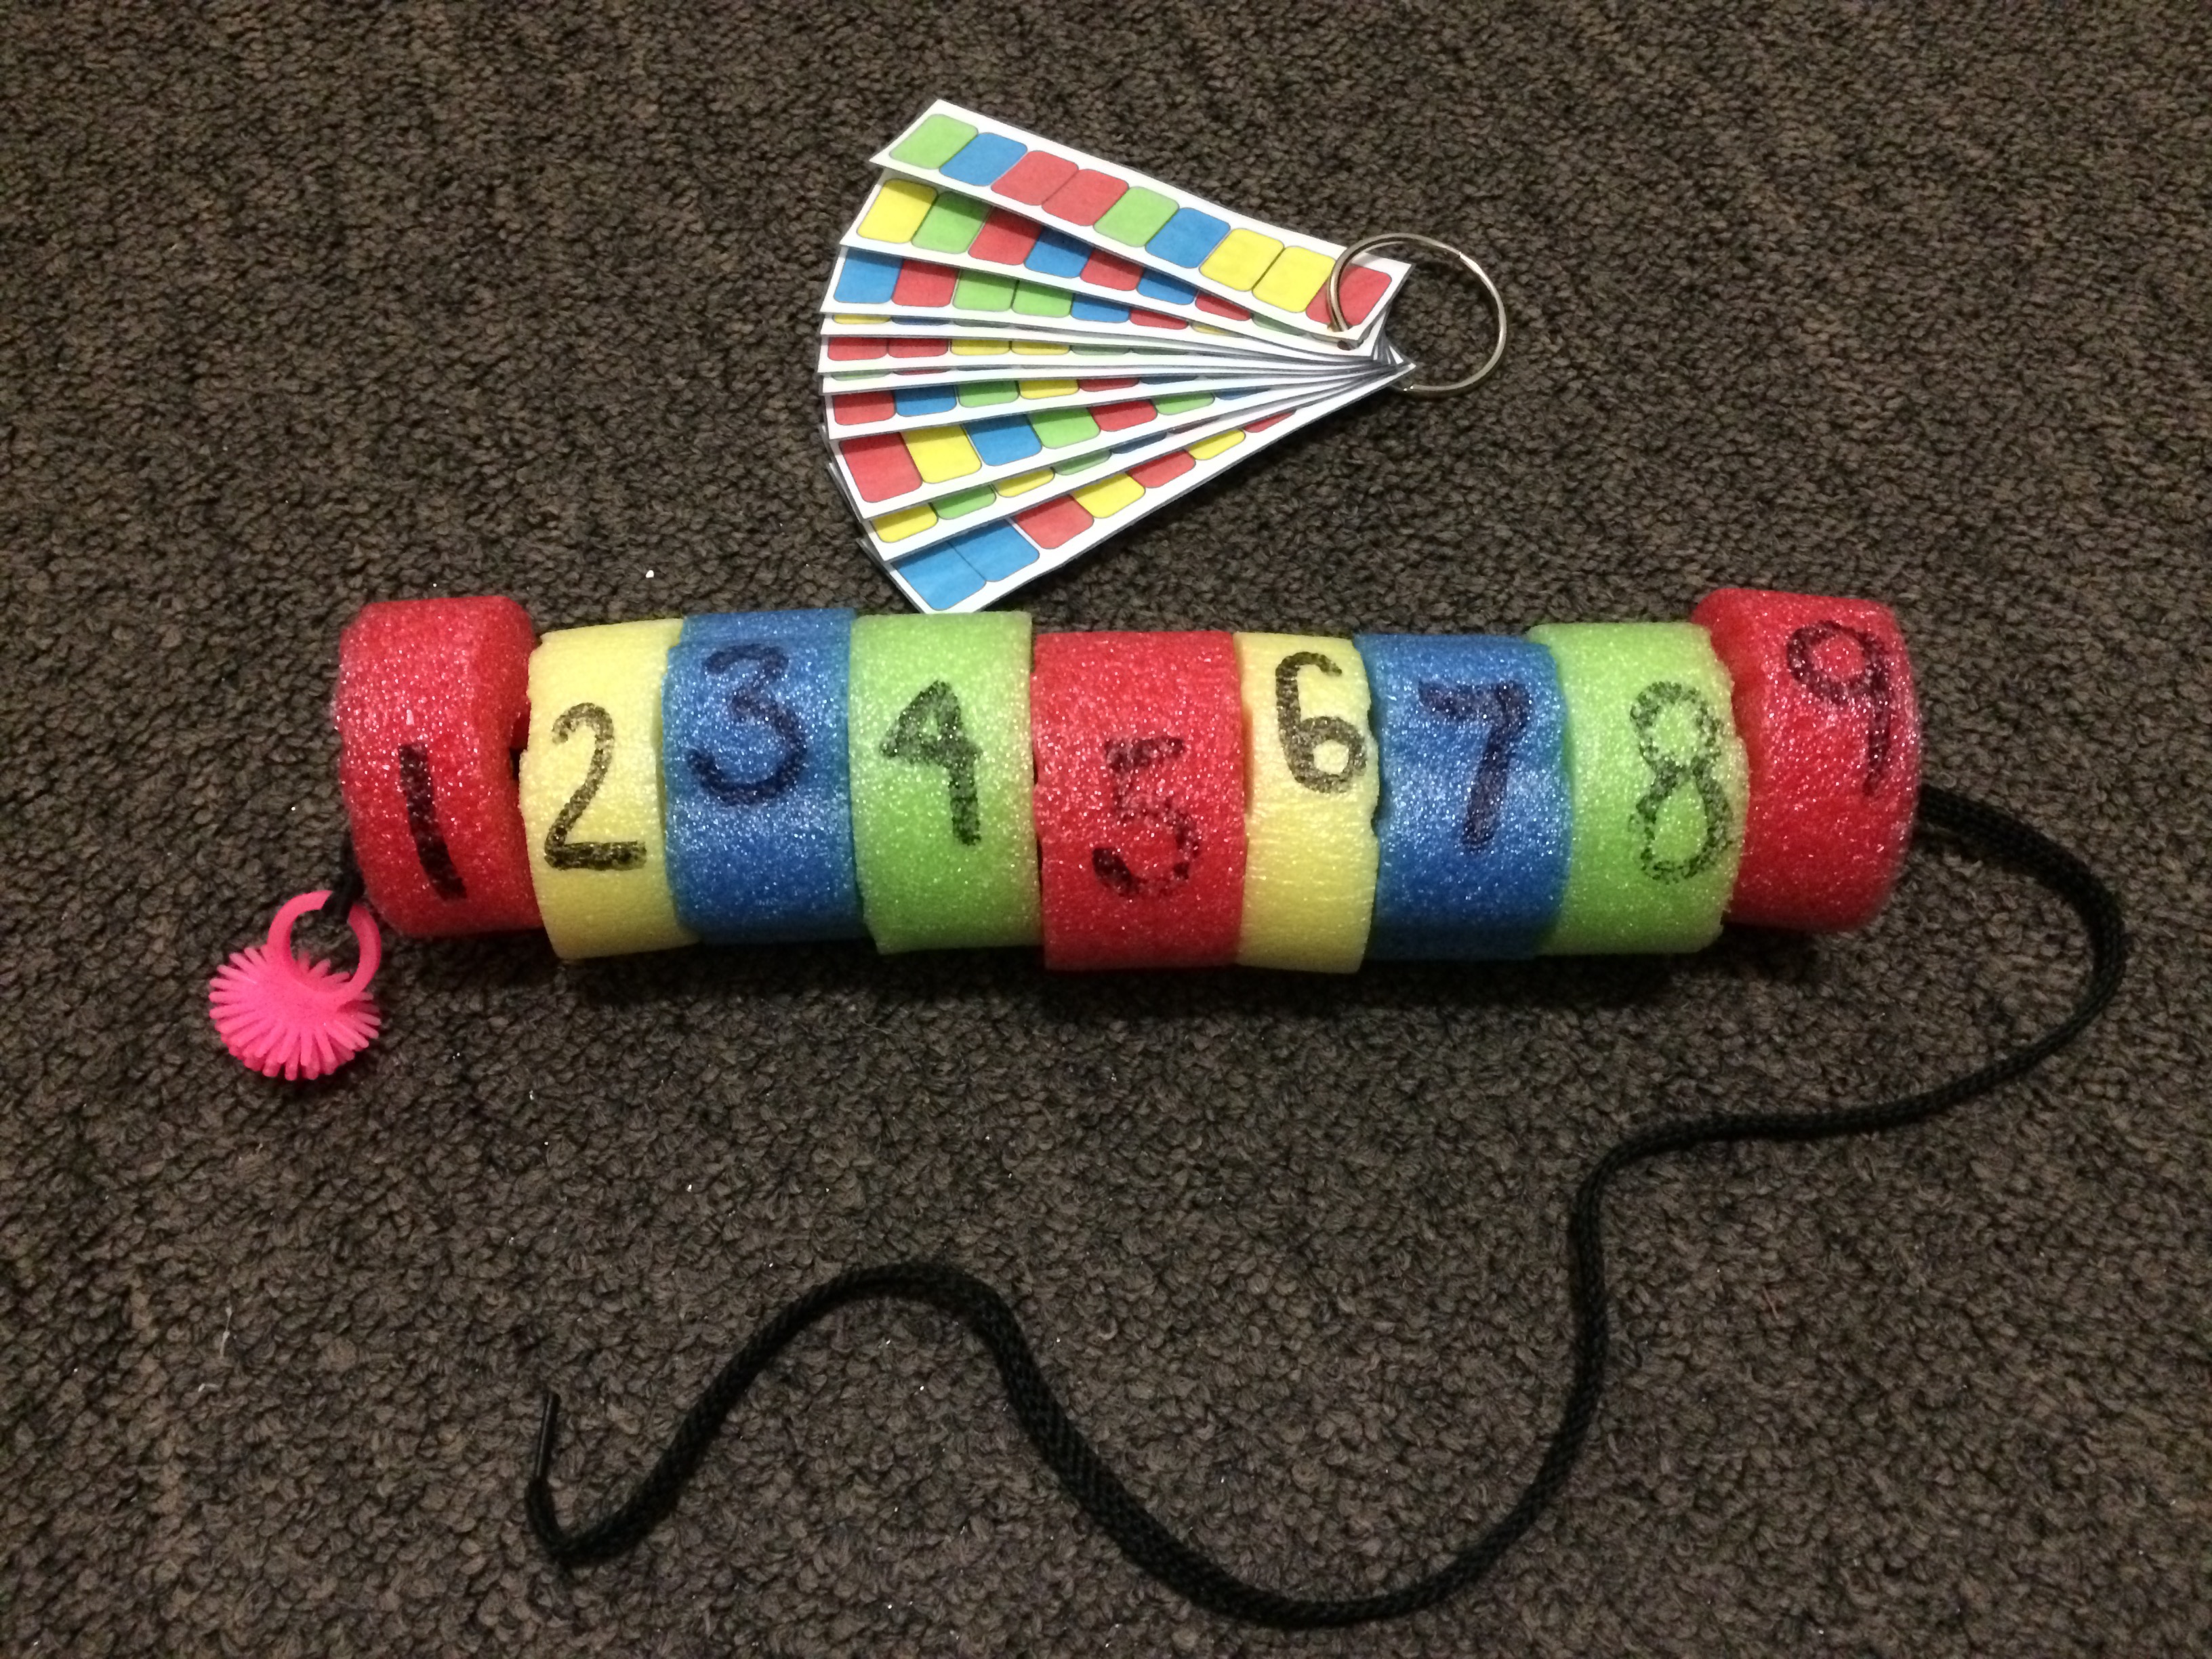
(1) Cut pool noodles into desired size. (2) Write numbers on segments. (3) Print/Laminate cards from link above. (3) Tie a plastic ring or similar object to one end of a shoe lace (keeps pool noodle segments on the shoe lace).
Pom Pom Sorter
(1) Cut hole in the top of empty bubble bottle. (2) Buy pom-poms, ice tray, and small tongs at Dollar Store.
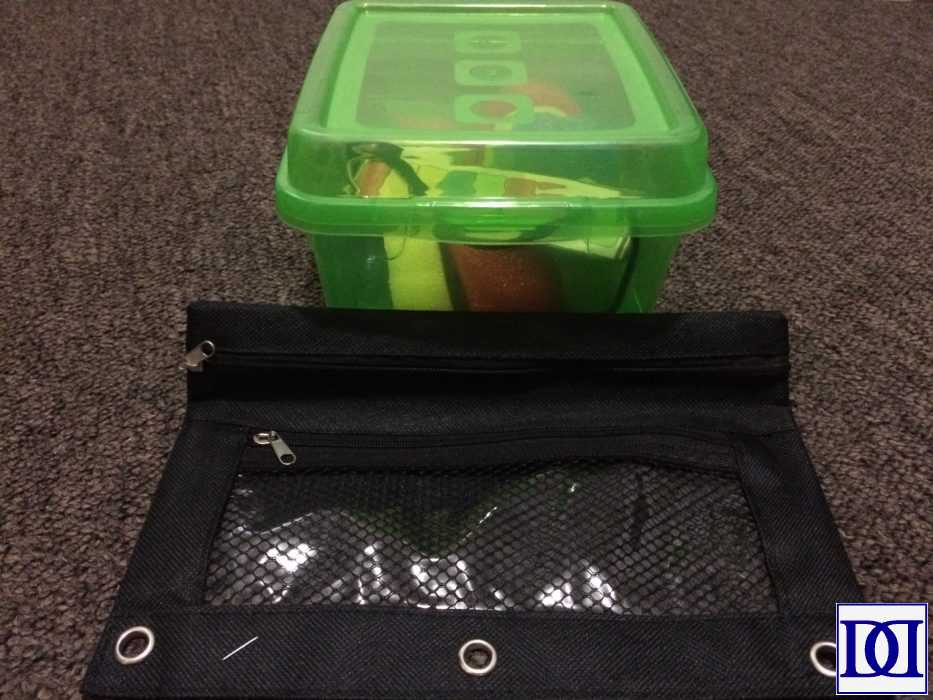
If you’re making several different projects, I’d recommend keeping them together in a large box. We re-purposed a diaper box with gold duct tape and stored each project in a dollar store pencil bag. For the larger projects, I found these wonderful plastic bins at the Dollar Store as well.
I also printed out these labels (bags and boxes) to help me remember what went into each box. It helped with organizing but also with making sure all we put all of the “chokeable” pieces away before the little sibling(s) woke up. These little projects have provided my oldest with countless hours of *independent* entertainment.


Leave a Reply